This support article covers the setup and configuration of Ximea camera's with Swing Catalyst.
Note: In order to use Ximea camera's with Swing Catalyst you will need a Halcon USB dongle and a license. Please contact contact@swingcatalyst.com to purchase a license.
Halcon installation & configuration instructions here:
Firmware change requirements
Your Ximea camera might require a firmware upgrade. This can be done through with xiCOP, bundled with the Ximea API.
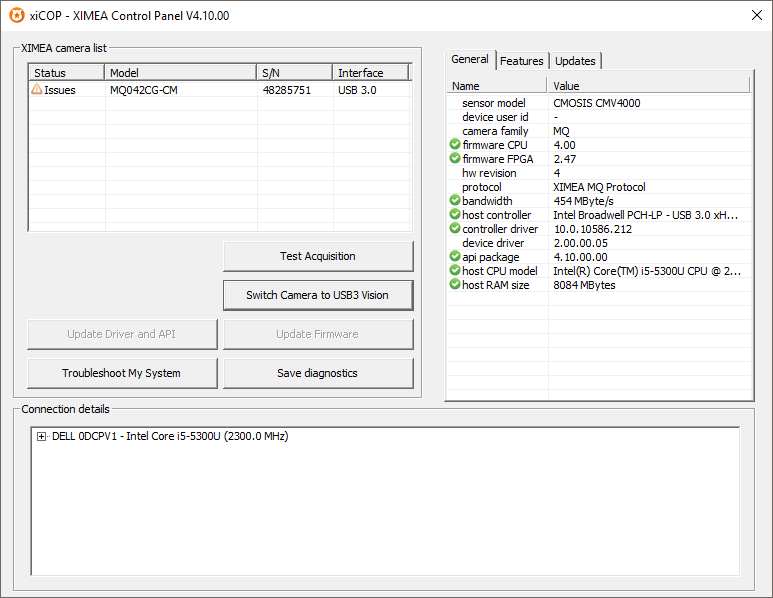
Check the status to make sure you have an acceptable USB 3 host controller.
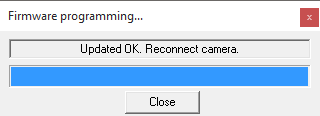
You can switch the camera to USB3 Vision through the xiCOP tool, click on "Switch Camera to USB3 Vision" to change the firmware on the device.
Installing generic USB3 drivers
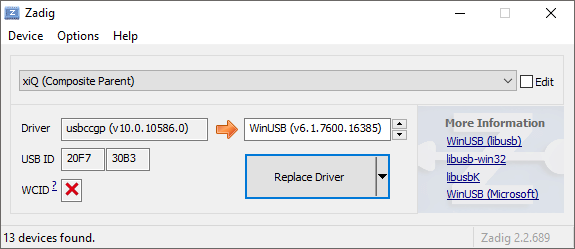
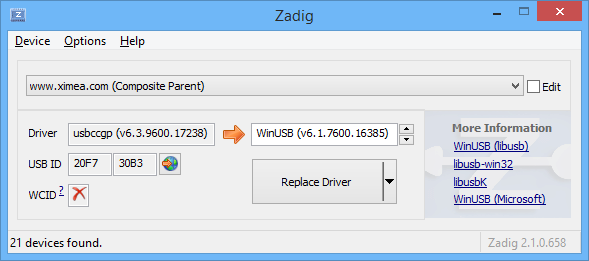
Most USB3 camera manufacturer installers come with their own drivers. In order to use Halcon with a USB3 Vision compliant camera, it's necessary to change the driver from Ximea's driver to WinUSB.
This is done with a tool called Zadig (bundled with the Swing Catalyst Universal camera support zip file). Open Zadig and select List All Devices and uncheck Ignore Hubs or Composite Parents under Options. Locate the camera then click Replace Driver.
You want to change the driver on the composite parent. Depending on the camera model this might have a different name.
Different camera model, same procedure.
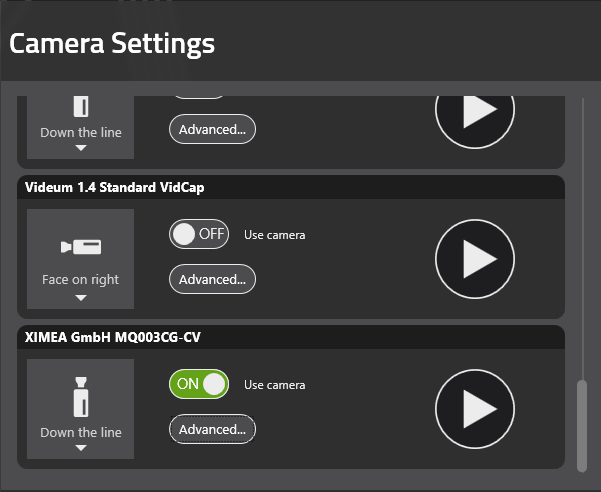
The camera now should show up in Swing Catalyst.
Configuring Ximea USB 3 camera's through Halcon
In Swing Catalyst, navigate to the Settings tab and to Cameras, locate your Ximea camera in the list then click Advanced.
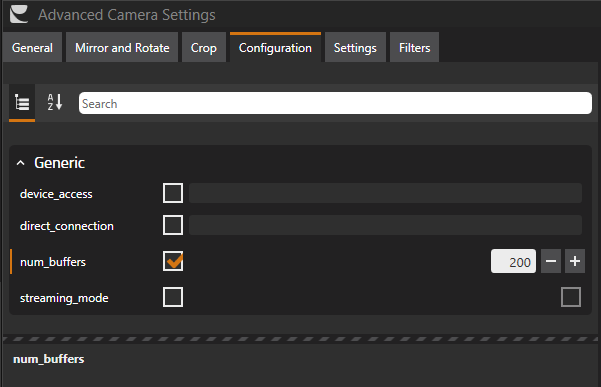
- Navigate to the Configuration tab.
- Enable the num_buffers checkbox and enter 200 as the value.
Setting up Ximea USB3 Vision camera's
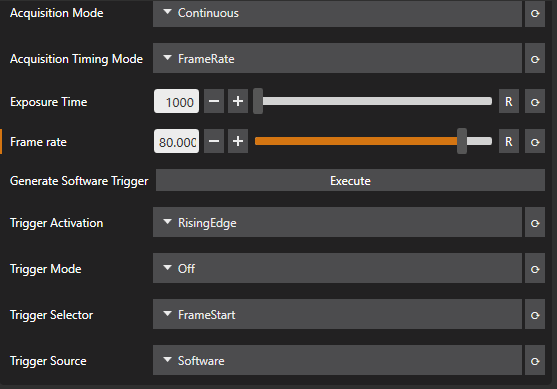
Lets have a look at how to set the exposure, shutter speed and frame rate.
Click the Settings tab & expand the AcquisitionControl tab, then enter the maximum (or lower) frame rate. From there Acquisition Timing Mode can be set to Frame rate, or FreeRun mode. Frame rate mode will allow you to set the frame rate, whereas freerun will run at the maximum frame rate possible.
Note: Frame rate can be limited by exposure values.
Setting exposure values
It's usually best to use a manual exposure for static environments, such as indoor studios. A fully auto exposure can cause the frame rate to be changed and lead to an inconsistent image. In this case we're not using auto exposure as we want to be able to control this ourselves. Generally an exposure time less than 2000 (2ms) is recommended.
Setting gain values
Similar to exposure, setting the gain to manual for static / indoor lighting conditions is best. The higher the exposure the more grainy the image will be and the longer the video encoding will take vs low gain.

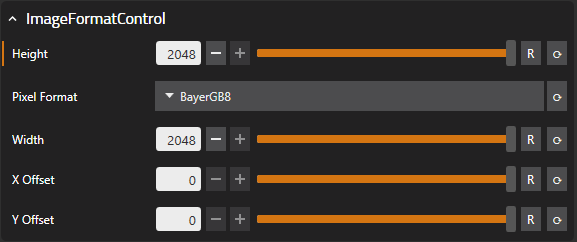
Changing the image size
In some cases you want to reduce the image size to focus in on a specific area of the video image, for example to view the club and ball on impact in detail.
This can be done with area of interest, also known as AOI, and ROI, region of interest. Reducing the overall image size with this function also can give you a frame rate increase.