
Balance Plate calibration & diagnostics
In order to use your Balance Plate it needs a calibration file. A calibration file is created for each Balance Plate, so no file is the same. If you do not have a calibration file installed, it’s also likely that your plate is not registered for warranty purposes. This article covers the process of obtaining a calibration file & registering the plate.
This article is for removing unwanted noise and improving the pressure distribution for Balance Plate 3 & up.
The Balance Plate consists of 2048 high accuracy pressure sensors, and using the Sensor Edge Utility to zero the plate may be necessary to ensure best accuracy. This article is a step by step tutorial on how to zero set the Balance Plate.
IMPORTANT!
There are two parts to this process
Part 1. Using the Sensor Edge utility to obtain the latest calibration file for your plate.
Part 2. Installing that calibration file in Swing Catalyst. Please be sure to read this entire support article.
Part 1: Using the SE utility to obtain calibration file.
If asked to install drivers, click yes.
Connect the plate to the computer.
Make sure Swing Catalyst software is closed, SE Utility will not be able to detect your plate if Swing Catalyst is running.
Open the newly installed SE Utility
Follow the instructions below.
Make sure you have a monitor or TV connected to your computer so you can see the screen when standing on the Balance Plate.
If you have an older version installed please uninstall it first via Add or Remove Programs .
Click Start:
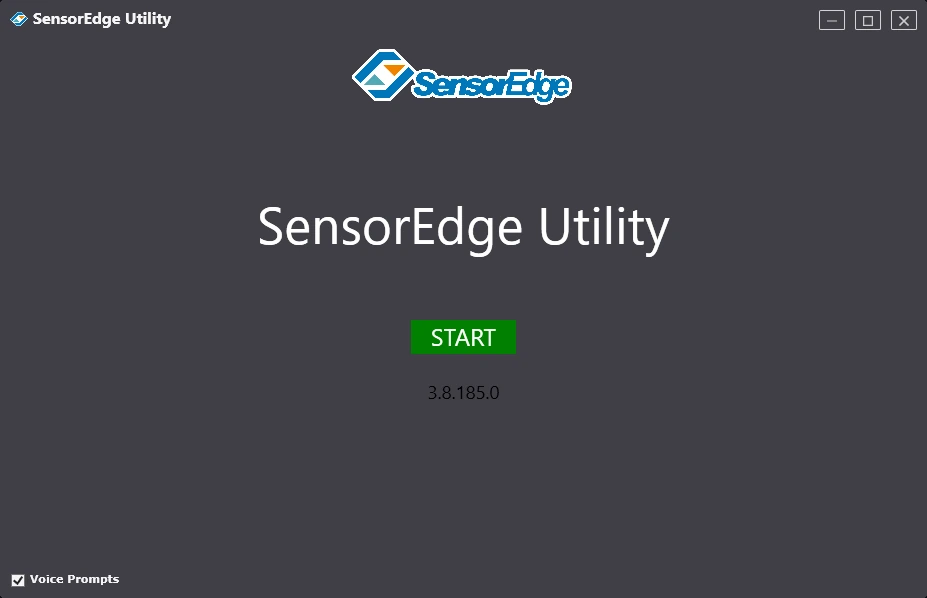
After clicking start it will automatically attempt to scan for devices, if it does not find your plate, click the drop down menu and select your Balance Plate.
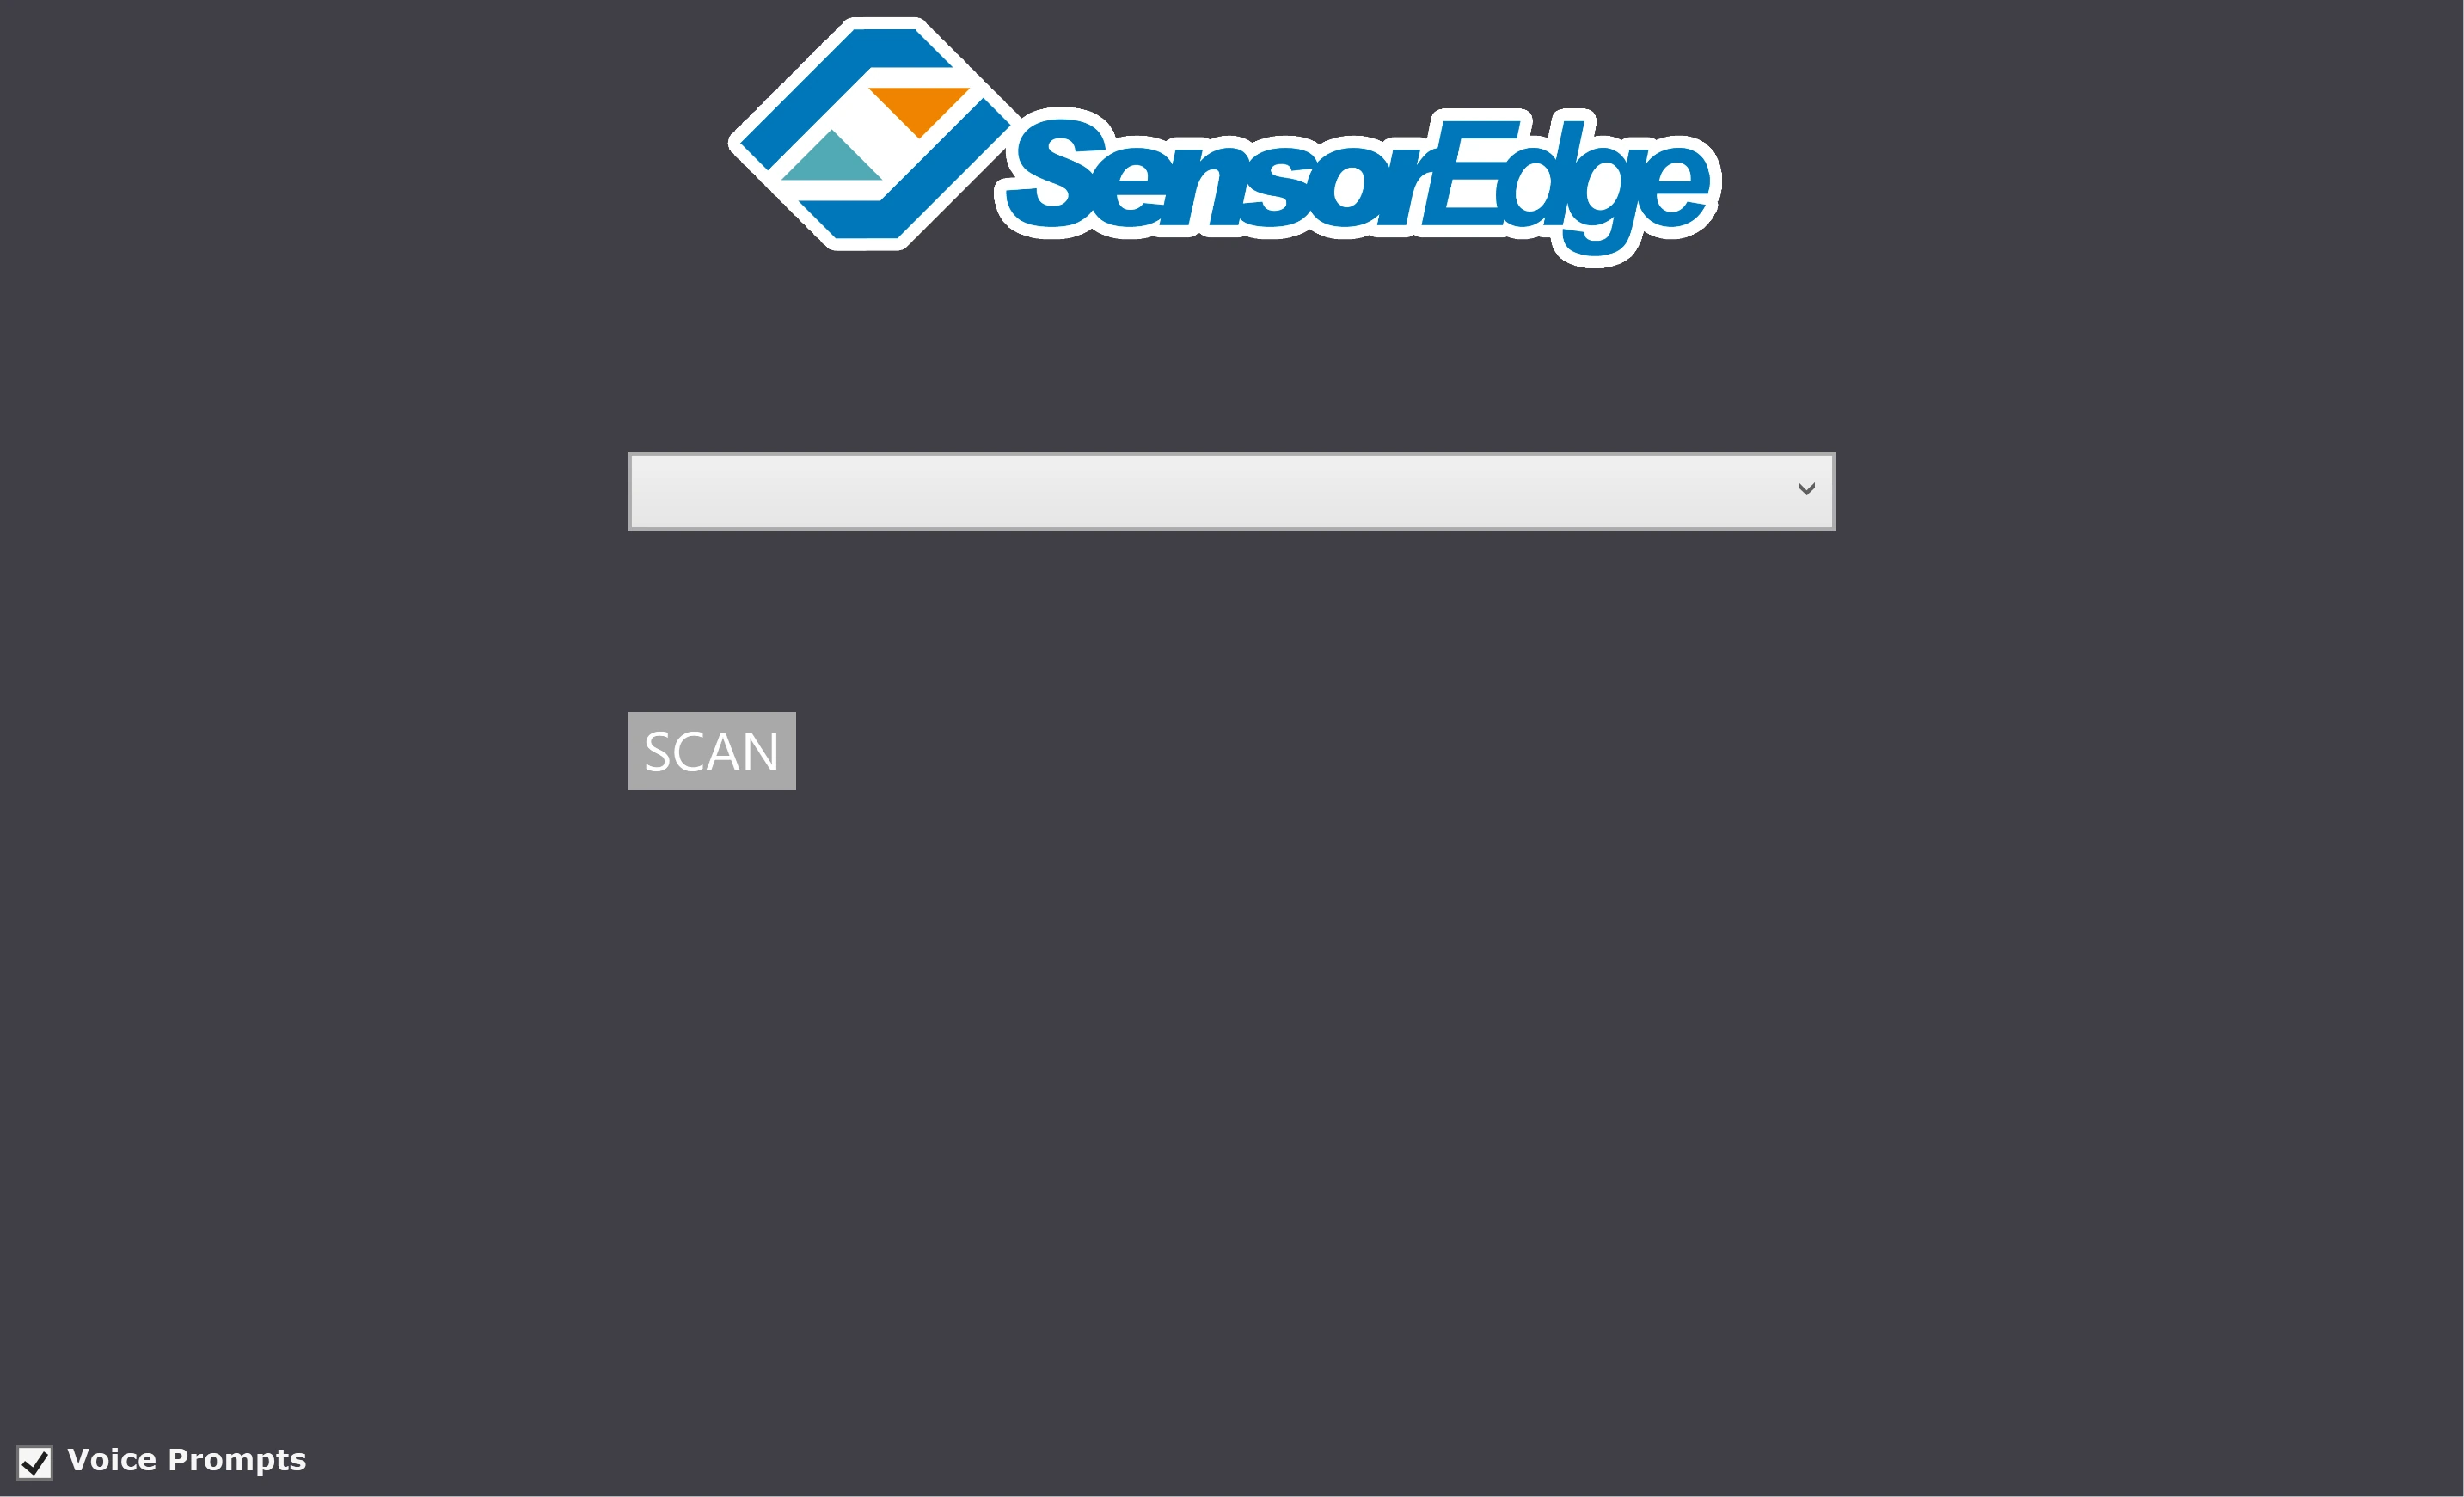
Click Scan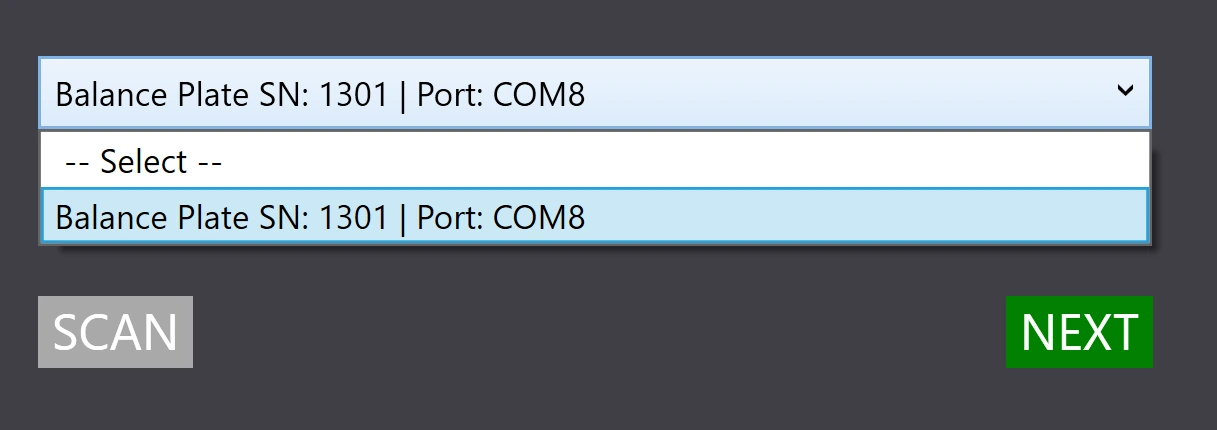
Select the device that matches your plate’s serial number and click Next.
Registering your Balance Plate
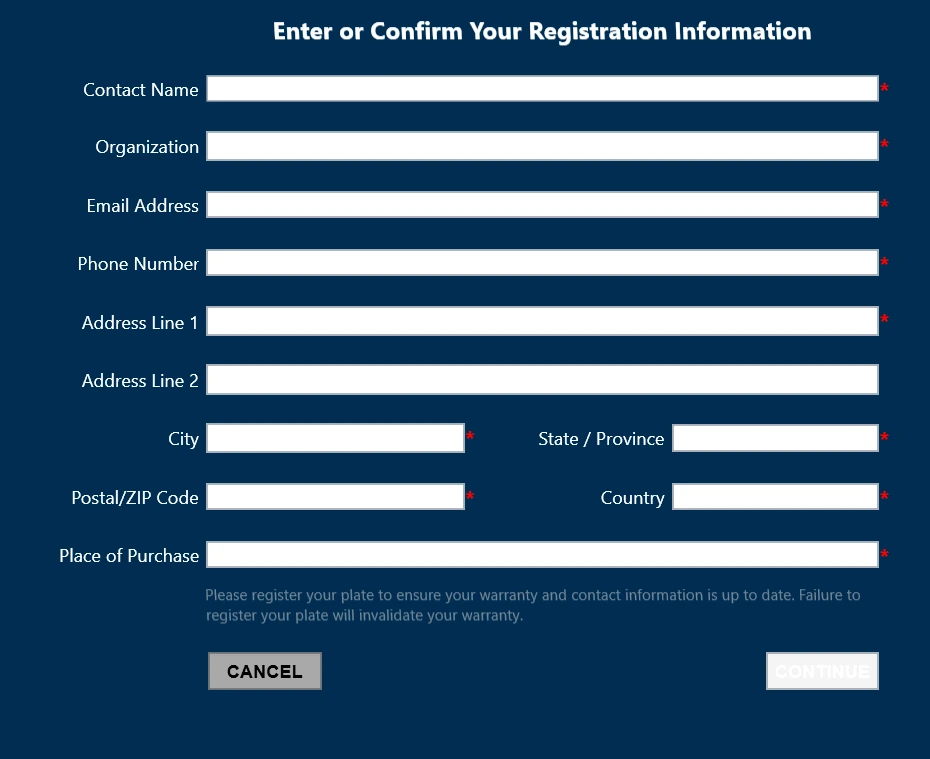
Example of filled out registration information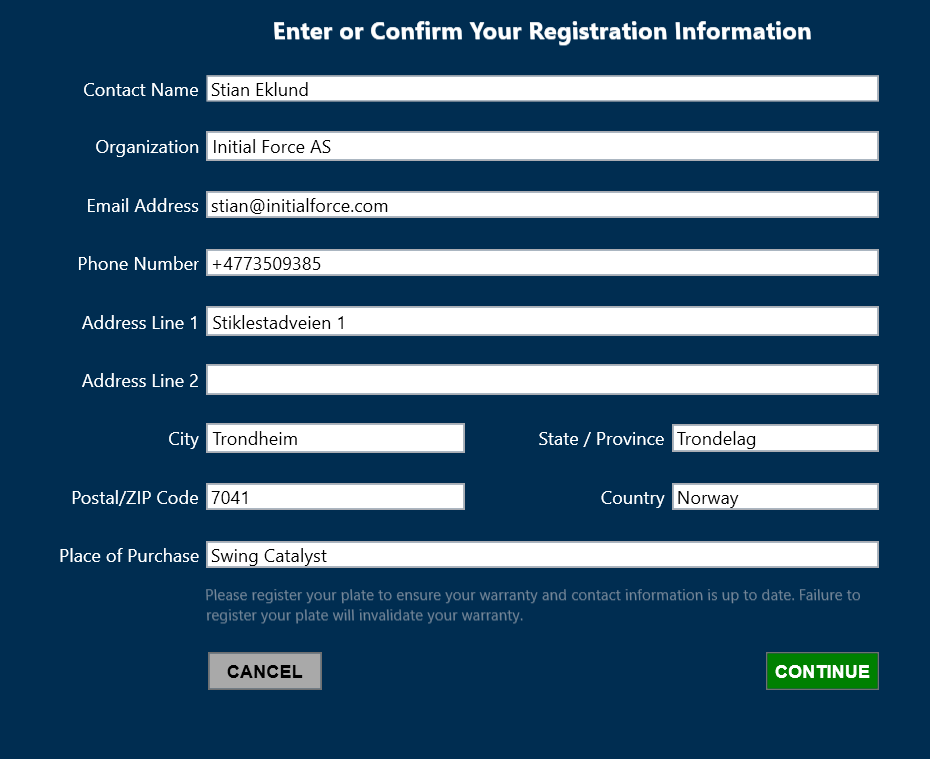
Once you’ve filled out the required information for warranty and service purposes click Continue.
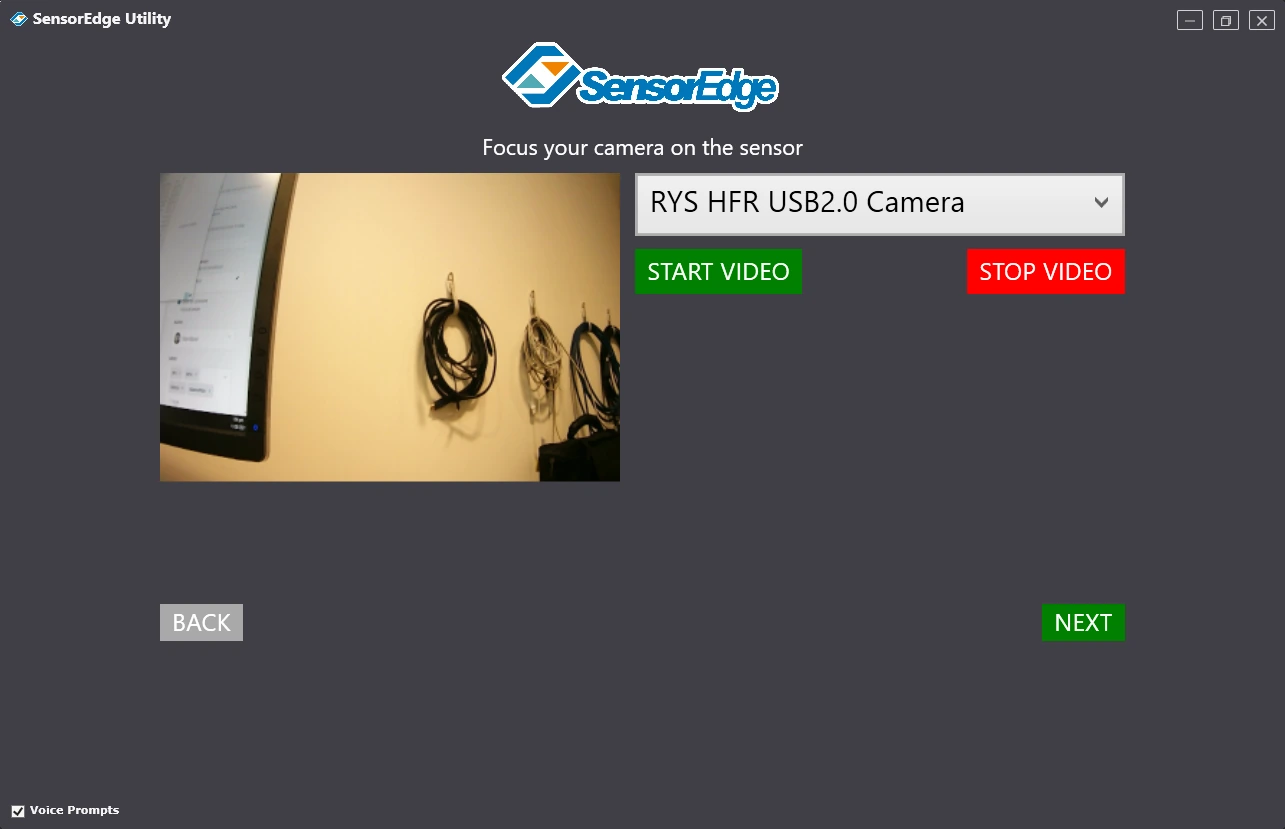
If possible select a camera and point it to show the Balance Plate, and click Next.
A camera is not required though, you can still proceed if no camera is detected.
Make sure to remove the carpet and any other objects from the Balance Plate, this is to ensure that the readings are not impacted by any external factors.
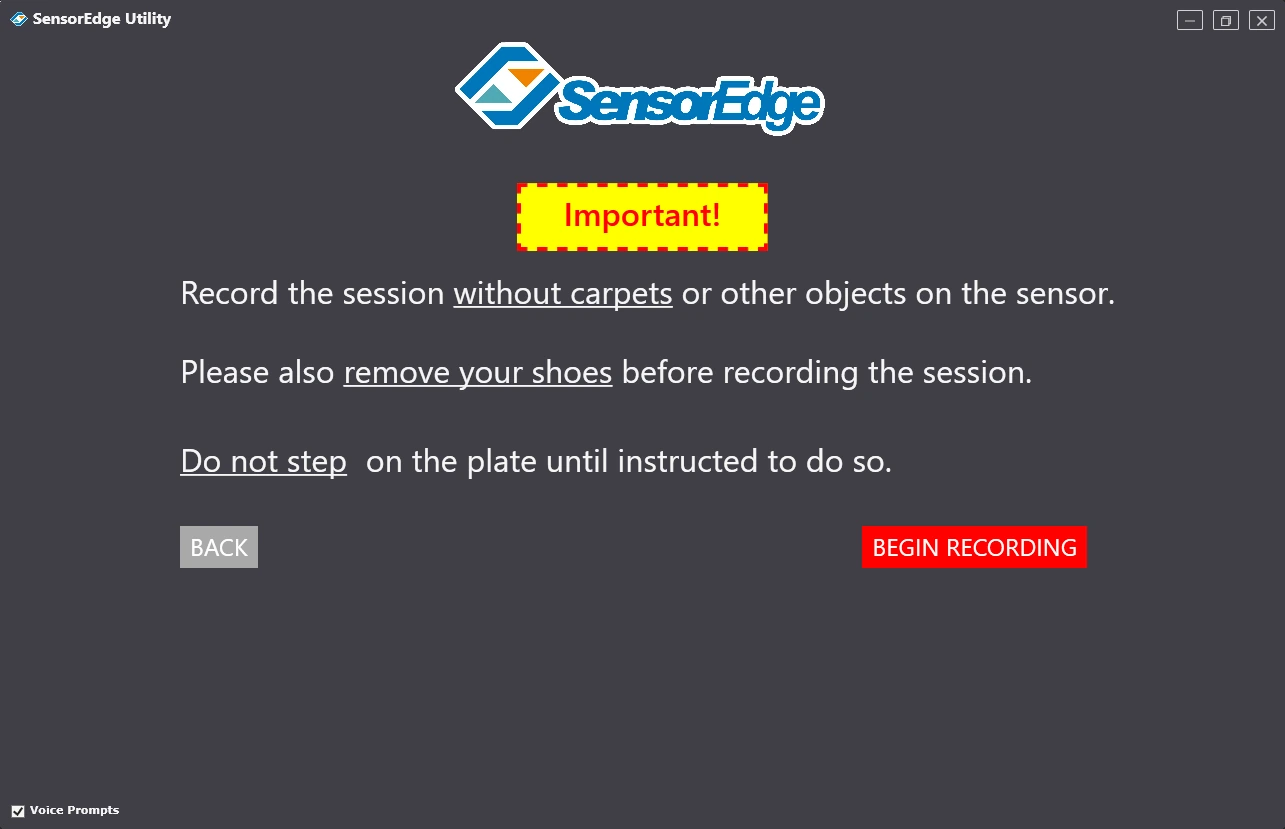
Executing the calibration process
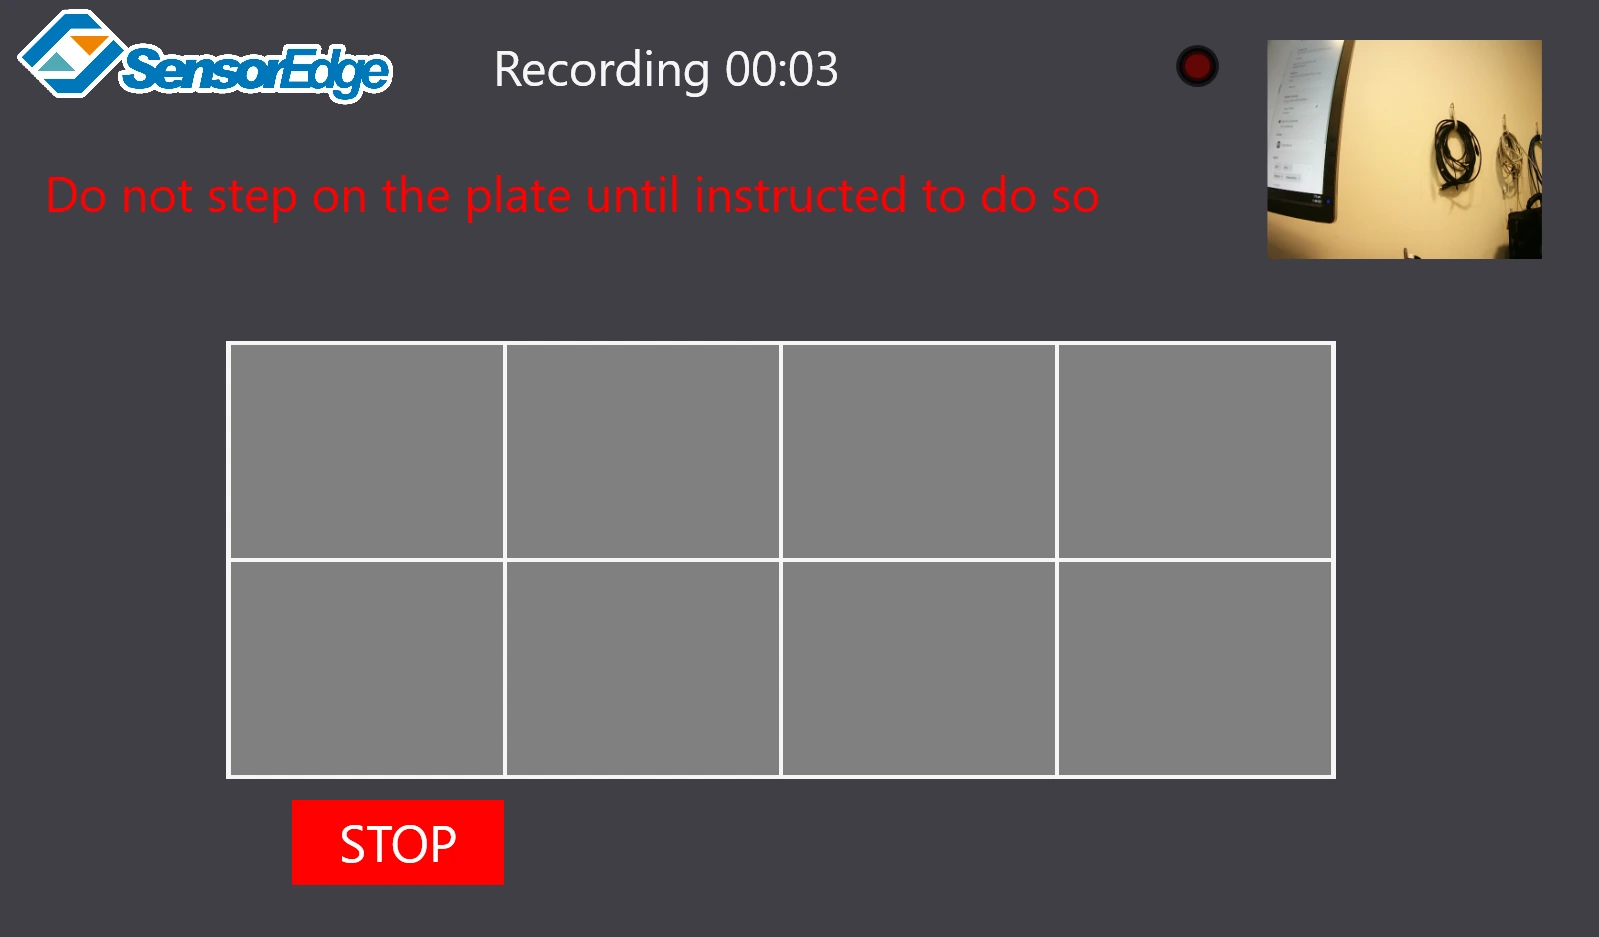
Before stepping on the plate the utility collects data in order to have a baseline to compare to.
Please make sure you don’t accidentally stand on the plate until the utility instructs you to do so.
Positioning
It’s important that you stand on the plate as indicated by the utility.
The dark feet show where you should be standing, and the gray feet show where you should stand next.
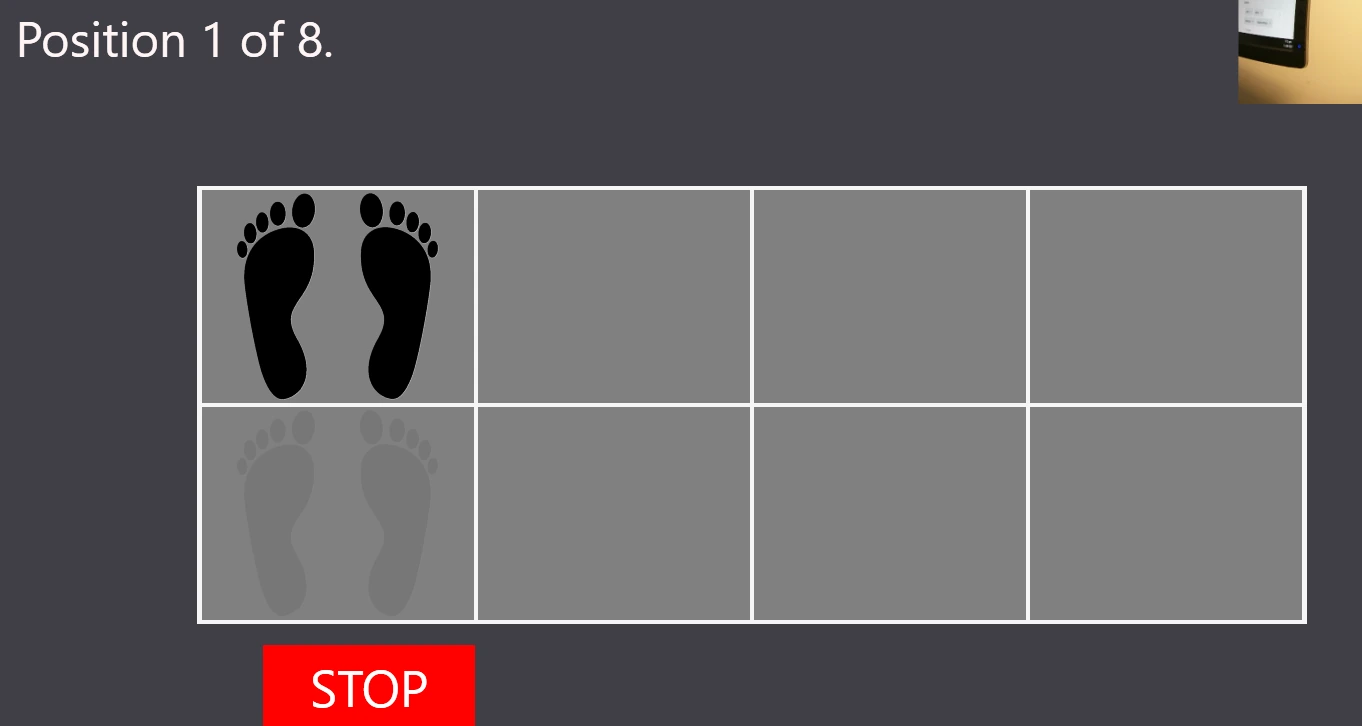
Please follow each step as it is important to activate all of the regions of the plate.
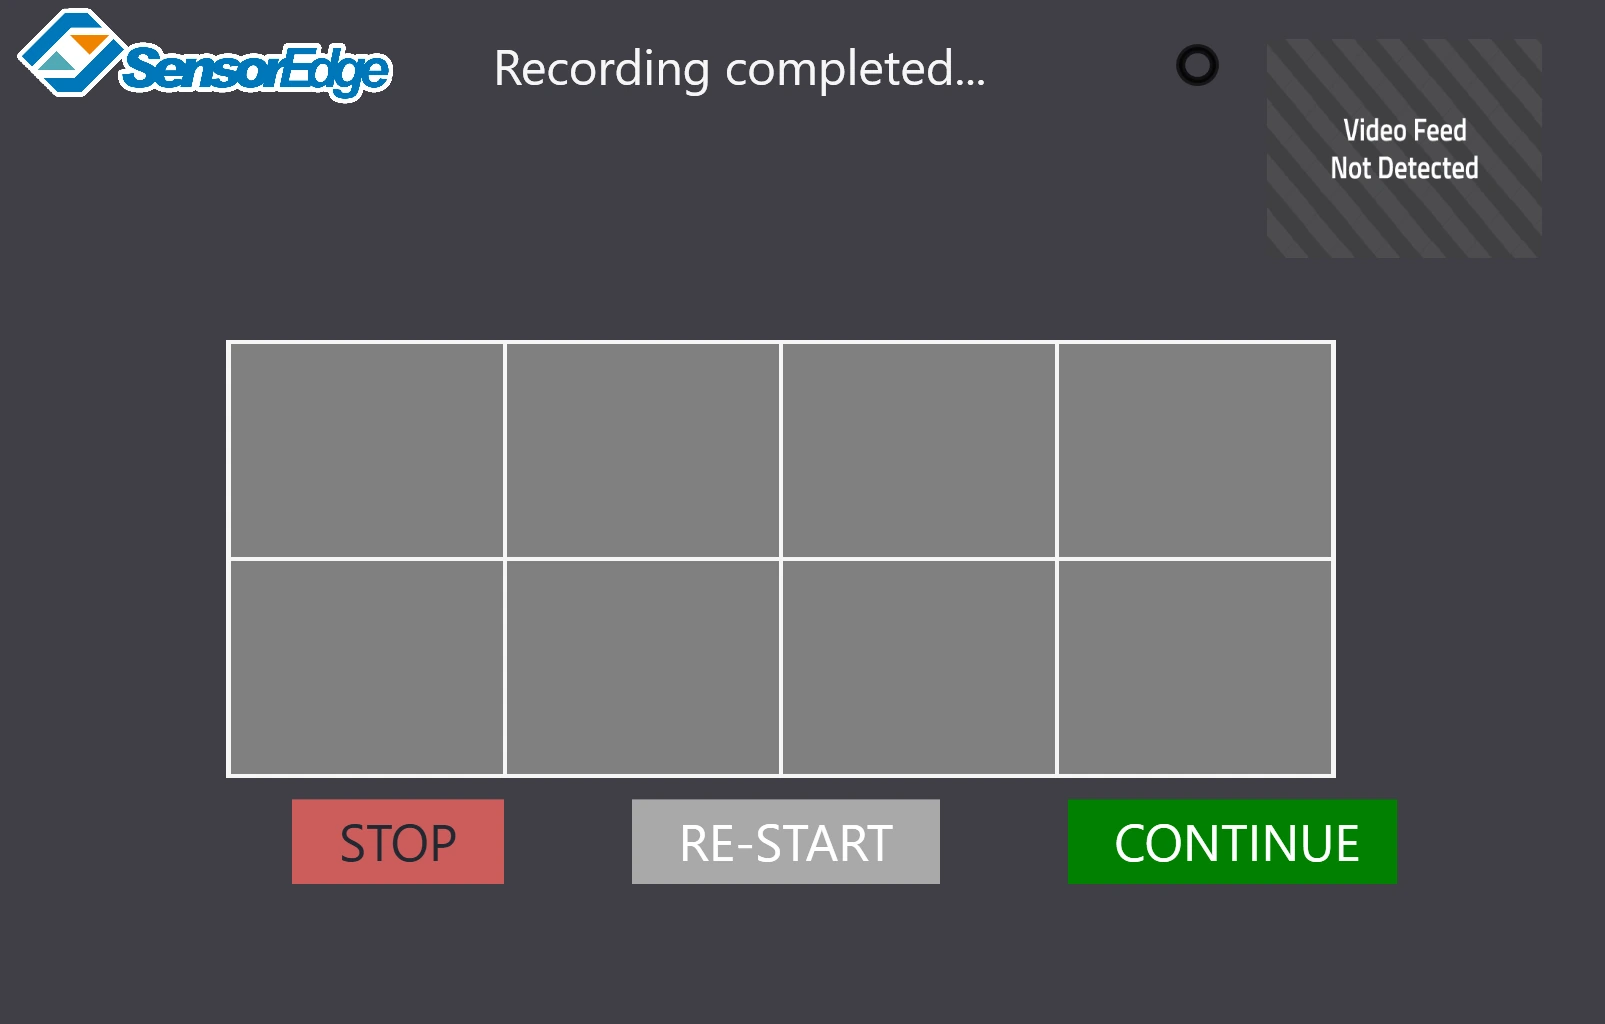
Completed recording
If you are not happy with the recording, perhaps you made a mistake? You can easily restart the process by clicking restart.
Click Continue if you wish to proceed.
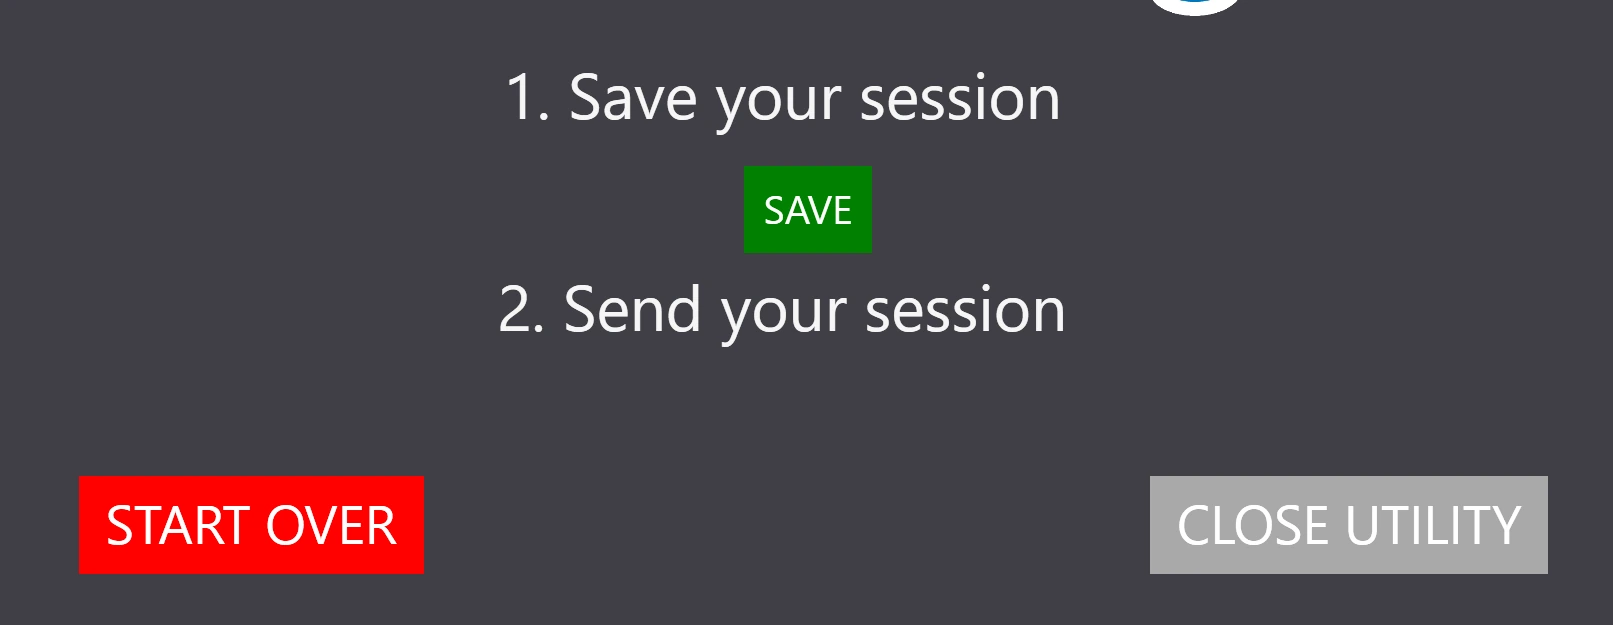
Click the Save button then click the Send button
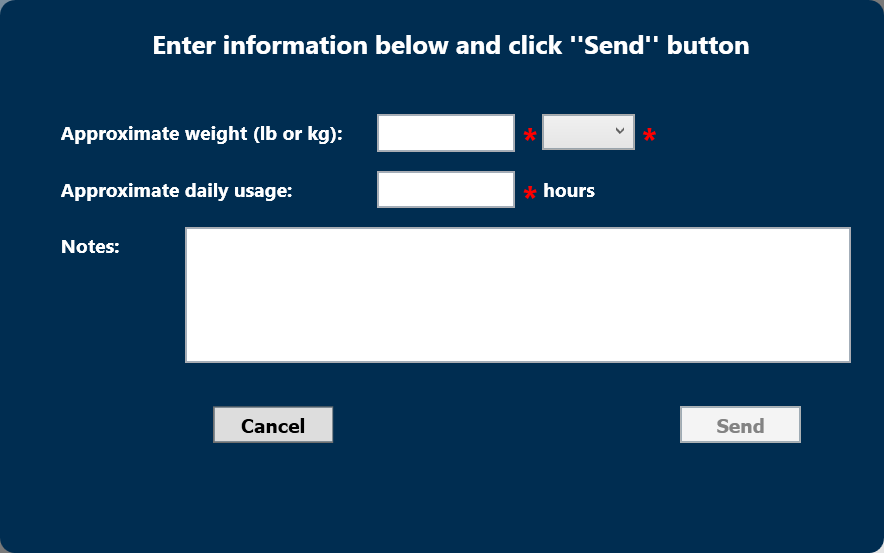
Before the data is sent to the manufacturer for review enter the approximate weight and usage.
In notes you can specify issues that you have with the plate, for example weak left foot, or other concerns.
The reason the manufacturer wishes to collect this data is to further improve the recalibration algorithms to provide more accurate sensor readings.
Enter the information and click send:
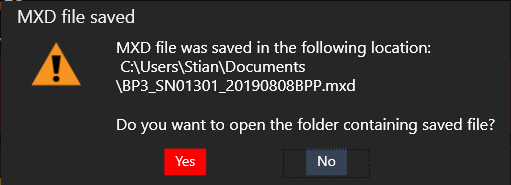
Once finished the calibration file is saved to your Documents folder, press “No” and then close the utility.
Part 2: Installing the calibration file
Continue with these steps
- Start Swing Catalyst and go to Settings –> Sensor Plates in the main menu.
The plate should be detected automatically, if not please see the troubleshooting section.
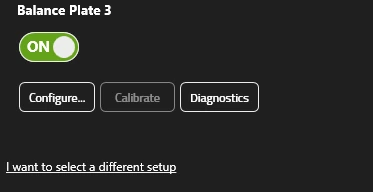
Click the “Configure” button for your Balance Plate to open the configuration dialog.
Sensor Plate Settings
Go to the Stance Sensor tab, and click Browse and Install.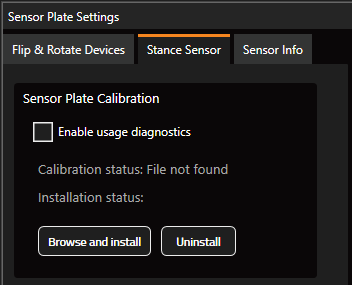
Go to the directory you saved the calibration file, e.g: C:\User\YourUsername\Documents and select the mxd file you just saved from the utility and click Open.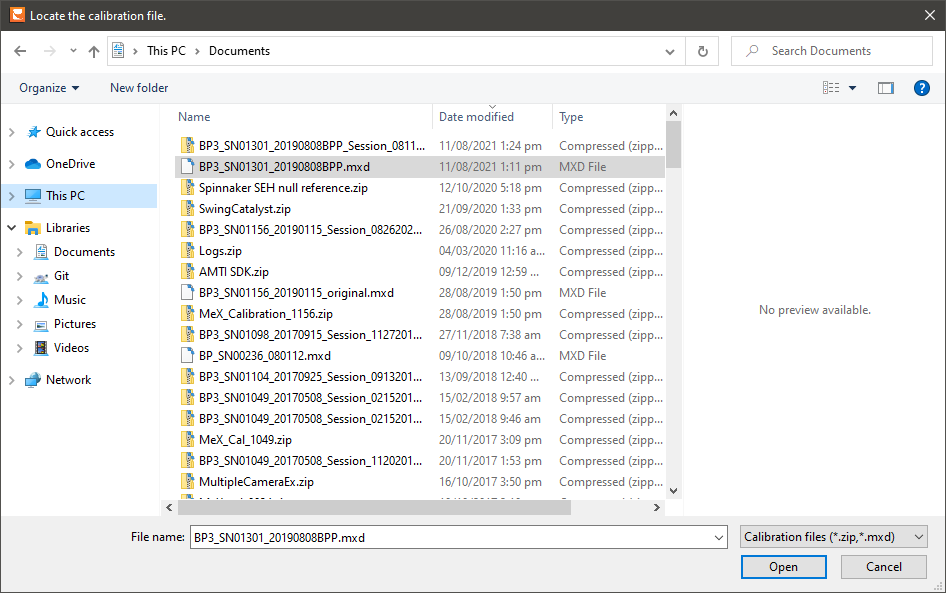
When installation is completed it will let you know and you can click OK to close the windows.
Your Balance Plate should now be ready to use. Start a new session in Swing Analysis and verify you get pressure readings in the Pressure and stance databox when capturing swings.
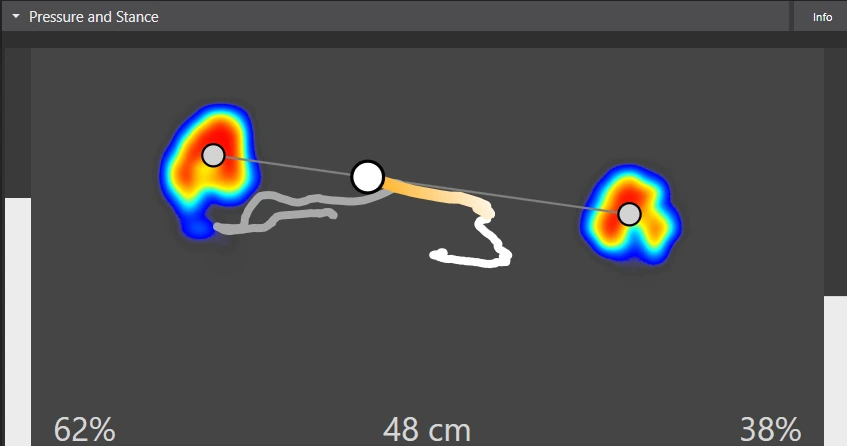
Note: It may be necessary to run a re-calibration of your Balance Plate with heavy usage, this can be done by clicking the diagnostics button in Swing Catalyst Settings, which will launch the SE Utility.
Troubleshooting
The Balance Plate is not recognized or not showing as connected:
- Make sure the device is recognized by Windows.
Open Windows device manager. How?
Verify the Sensor Edge device is present under Ports (COM & LPT)
If it is not, or has a warning symbol, then try reinstalling the drivers and reconnecting the device to a different USB port.
Connect the device to a different USB port on the computer.
If using a USB extender, try connecting the device to the PC without an extender.
Restart Swing Catalyst.
Restart the computer.
If you tried all these steps and it still shows as not connected in Swing Catalyst, please contact our support team.
Calibration is not installed successfully
- The calibration file you received from the Sensor Edge Utility may be bad or the file may have become corrupted, try to run the utility again and install the new calibration file. If this doesn’t work, contact our support team.
There is noise on the plate even though I’ve run the utility
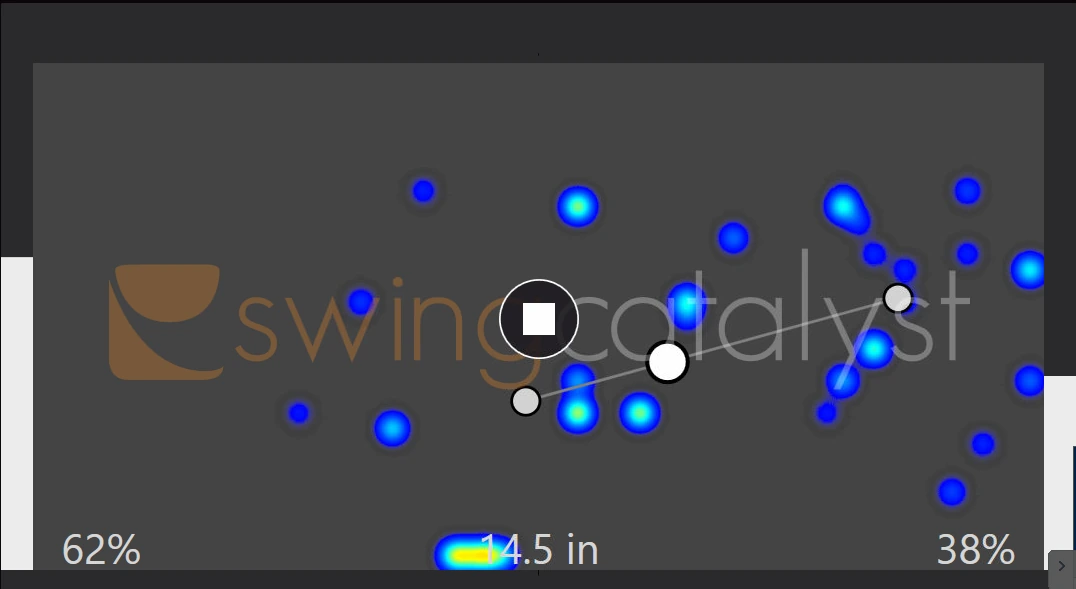
Noise can be present due several factors:
Wrong or no calibration file installed in Swing Catalyst.
Heavy usage: The calibration utility should be run often, even once a month for heavily used plates.
Direct exposure to sunlight.
Wear and tear on the sensors themselves.
The utility may not be able to filter out the noise if the signal to noise ratio is not good enough, the plate will in this case need to be recalibrated through an RMA. The manufacturer will then manually inspect the session that is generated by the utility to see if they can improve upon it.
If the manufacturer is unable to fix the issue and the plate is under warranty or ESA (extended service agreement) , the plate can be shipped back to the manufacturer as long as an RMA is present.
Hardware incompatibilities
Some issues have been seen with AMD 300-Series chipsets (AMD Ryzen 1700 / 2700 series ) with USB 1.1 devices. Specifically with the Balance Plate, where you only get 75 samples per second instead of ~145 samples per second. We recommend using a USB 2.0 hub which will allow the Balance Plate to stream at full sample rate.
There are no known issues as far as using the AMD 300 series chipsets with USB 3.0 devices.