
Swing Catalyst - User Guide
Introduction
This article is the user guide for Swing Catalyst.
Note: There are feature differences between versions of Swing Catalyst. Meaning not all screenshots might not apply to your license.
Requirements
A valid Swing Catalyst license.
Computer specifications:
Please note that Swing Catalyst will only run on Windows 10/11.
Getting Started
This guide is split up into different categories & steps.
Installing the software and license key
With every new Swing Catalyst license there is an accompanying email with instructions. If you cannot find the email, please check your Spam folder or search your inbox
Follow the instructions to download & install Swing Catalyst, once installed enter the license key when prompted in the software.
Example email:
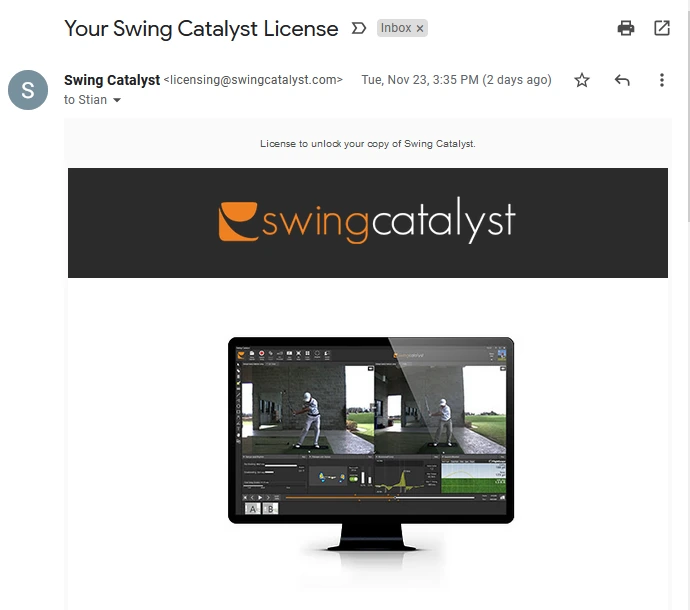
Having problems getting the license key installed? Please see our step by step article .
Connecting one or more cameras
Note: Not all licenses support live streaming cameras such Swing Catalyst Lite.
Please see this list of supported cameras.
If you are using a FLIR, IDS or AVT camera, you may need to download & install appropriate drivers. Please take a look at our Driver section . If you are using a FLIR camera, please see our dedicated camera guides .
Note: We recommend making Swing Catalyst is not running before performing any camera related driver installation. Once the drivers are installed you may need to restart your computer.
From the main menu settings can be found by clicking the gears icon.
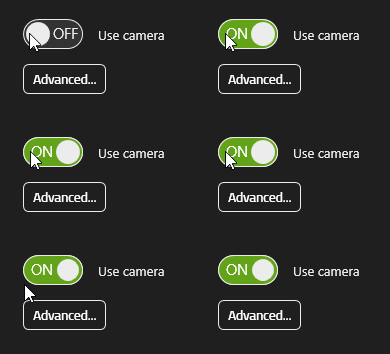
Detected cameras will automatically be listed in the camera list.
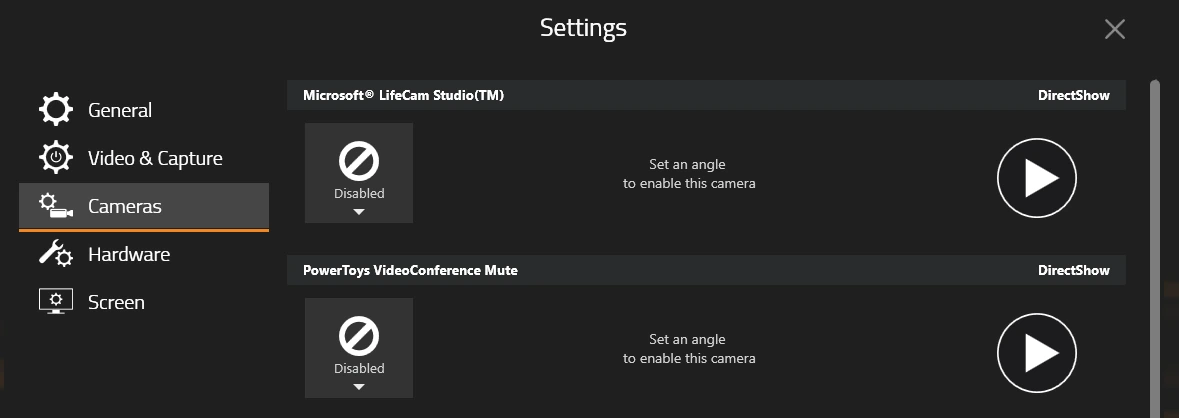
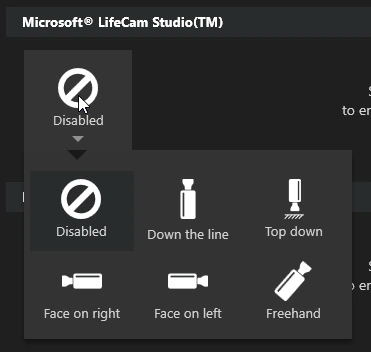
In order to use the camera it needs to have an angle designated.
Select an angle by clicking the disabled icon and then enabling the camera by changing “OFF” to “ON”.
Connecting a Launch Monitor
Note: Launch monitor support depends on the license type, if you cannot enable this section it is because your license does not have launch monitor support. If so, you may want to consider changing license types from BASIC to PRO.
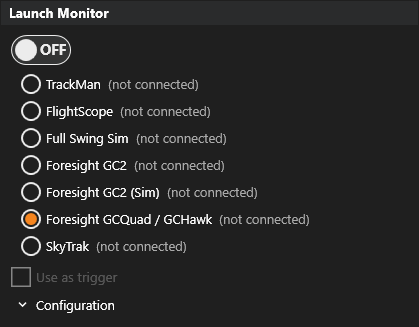
Under “Hardware Settings” you can choose between supported launch monitors.
Select your launch monitor in the list, switch it to “ON” and enable “Use as trigger".
Make sure that the launch monitor is switched on and connected to the PC.
We always recommend using a wired connection if possible, .e.g. USB or Ethernet over WiFi.
For a more detailed description of how you set up your launch monitor, please refer to these guides:
If you selected a launch monitor as a trigger device, it will automatically record your swing while in capture mode. If you do not have a launch monitor, no problem, you can use a microphone as a trigger instead!
Creating a new user
Create a user by following these steps and recording a swing.
From the main menu, click “Start”
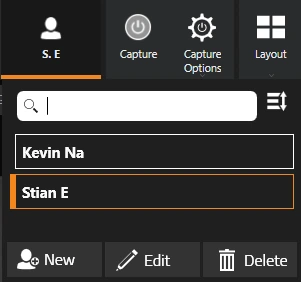
Click the Select User drop down button and click “New”:
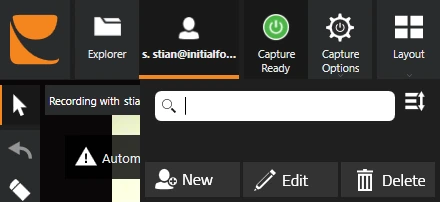
Note: With some licenses, a user is created automatically from your license details. Click “Edit” to change a user’s details, or “New” to add a user.
Enter a name and click “Save”
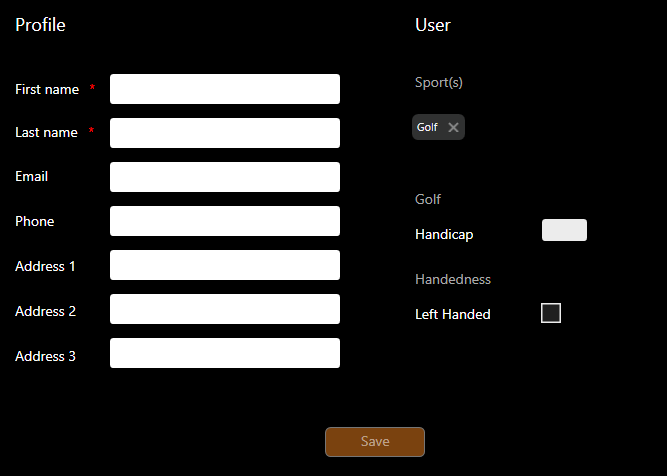 Some Home Edition licenses have a max user restriction, this limits how many user profiles can be stored in Swing Catalyst.
Analyzing a swing
In this example screenshot from Ian Poulter we have recorded a swing with two high speed cameras along with our Motion Plate and a Foresight GCQuad as launch monitor.
- P.s: Tour Swings can easily be purchased from our web shop!
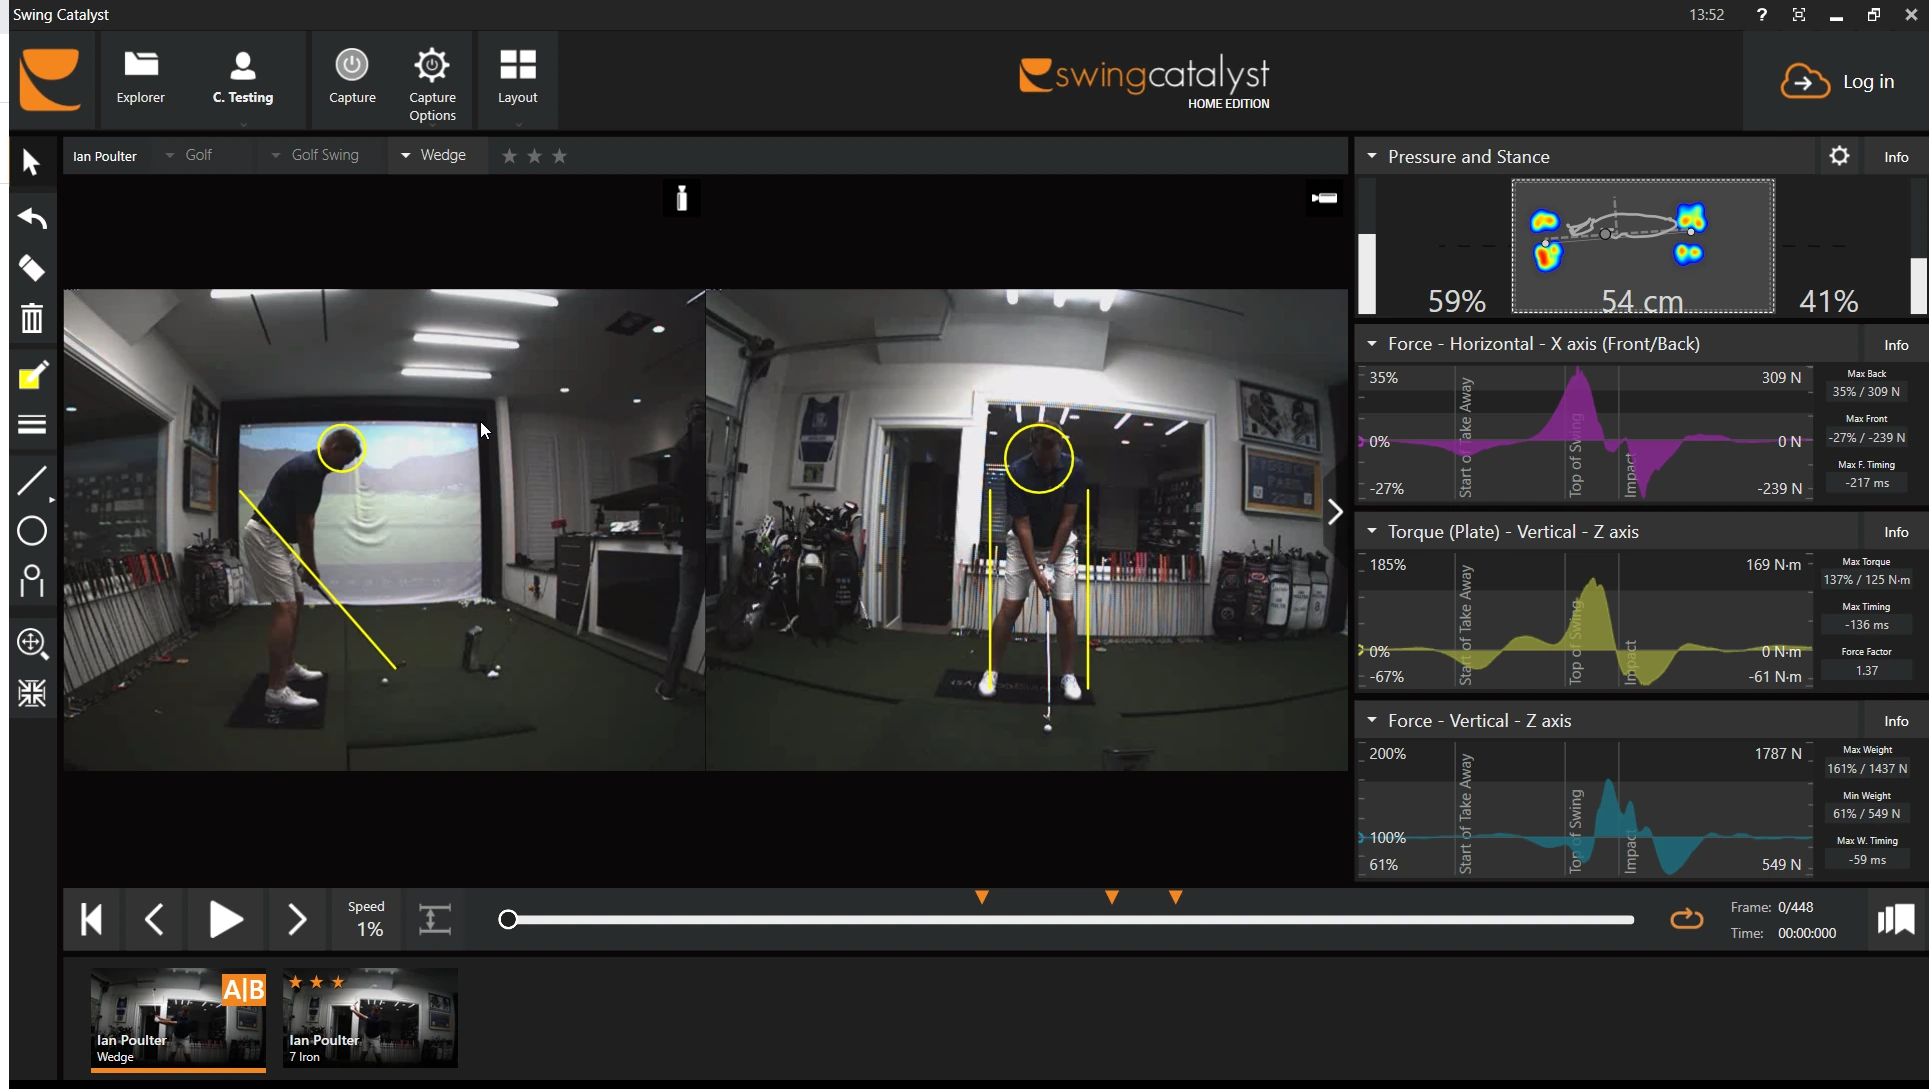
Let’s take a look at the Swing Catalyst interface, and some of the menu’s and buttons.
The Analysis menu toolbar

From left to right: Menu, Explorer , Switch User , Capture , Capture Options and Layout .
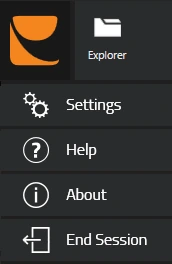
The Swing Catalyst icon is also the menu button which serves as a quick way to access settings and ending the current session.
Switching Users
Capture
In order to record a swing you need to be in capture mode.
When clicking the “Capture” button you automatically go from playback to capture mode.
The “Ready to capture” icon in green signifies that the system is ready to capture. With Home Edition you will enter this mode automatically on starting a session!

“Ready to capture” simply means that the capture mode is armed and Swing Catalyst is actively streaming data. Only saved once a trigger event has happened e.g. (manual trigger, launch monitor, microphone).
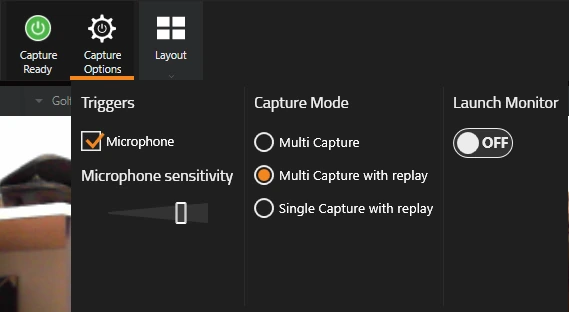
Capture Options
Choose between different trigger options such as microphone or launch monitor, and change capture modes.
Layouts
You can choose different layouts in Swing Catalyst by using the “Layout” drop-down button.
Swing Catalyst remembers the last layout used in Playback and Capture mode respectively.
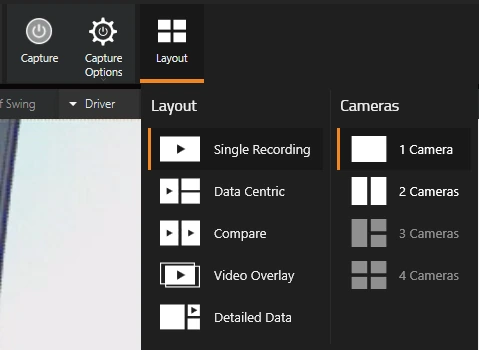
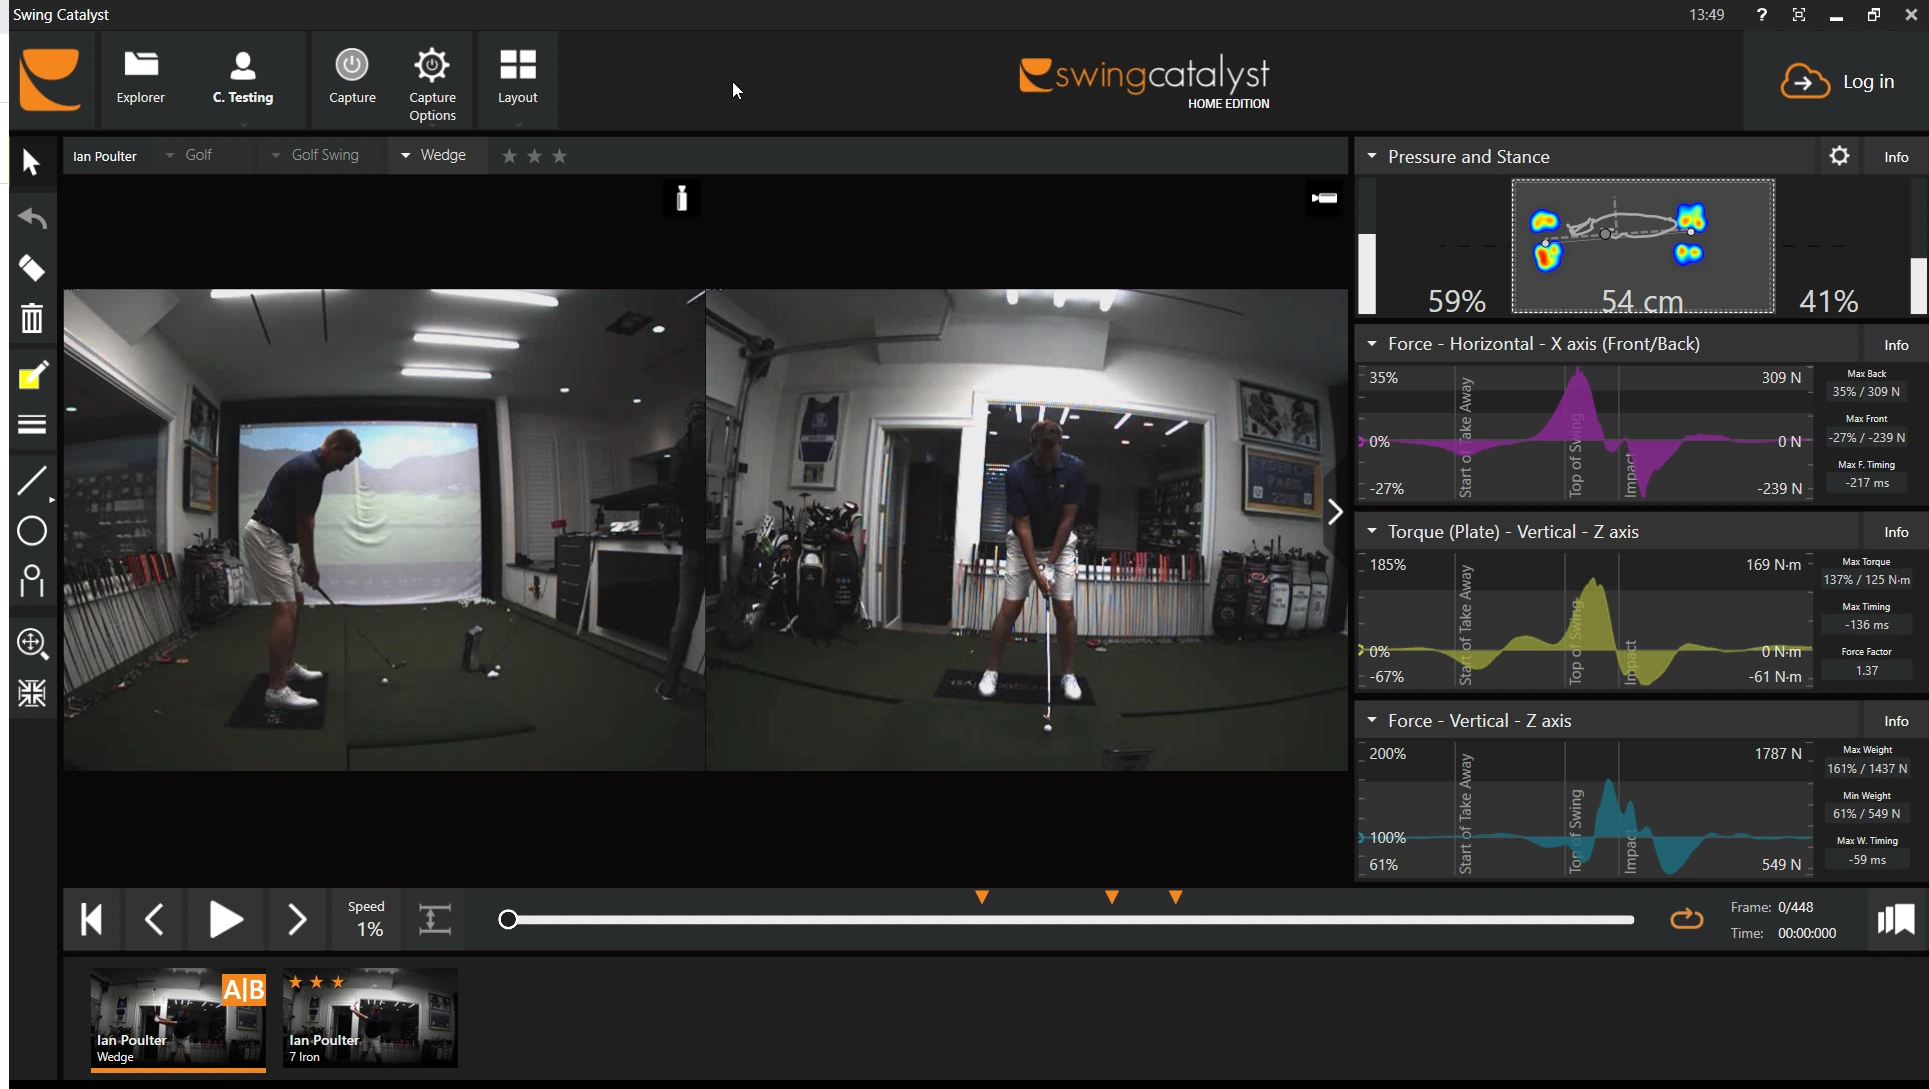
As visualized in the iconography the layouts have some differences in what is shown and how it is shown.
Example of the “Single Recording” layout with 2 cameras.
The “Compare” mode layout with one camera:
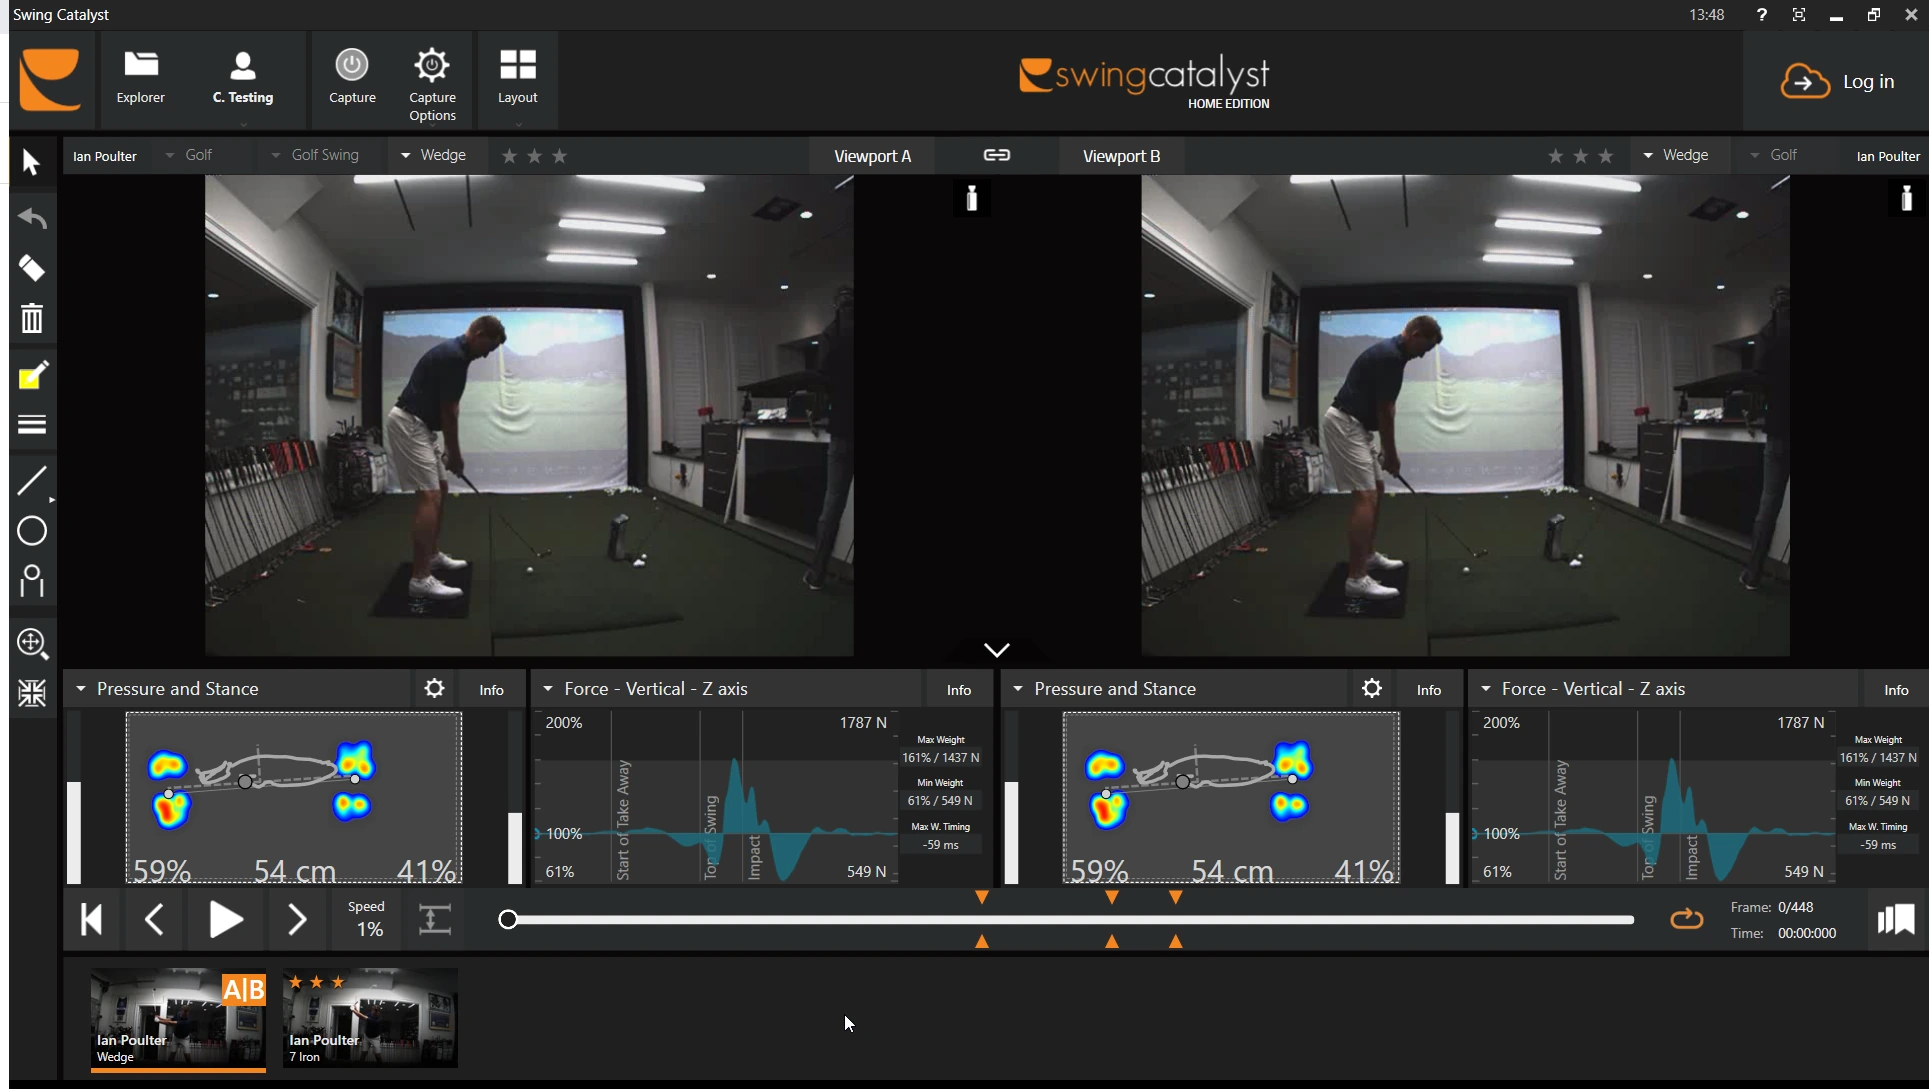
Here the recordings are split into two separate “view ports”, “A” and “B”. If we look more closely at the bottom of the screen, previously recorded (or opened) recordings show up in the stack.
The Stack
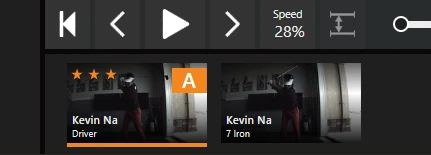
The stack shows the last recording with the newest recording leftmost.
In this example the orange A and underline of the recording is to show that this recording is open in “View port A”.
You can quickly view information about a recording by clicking it once:
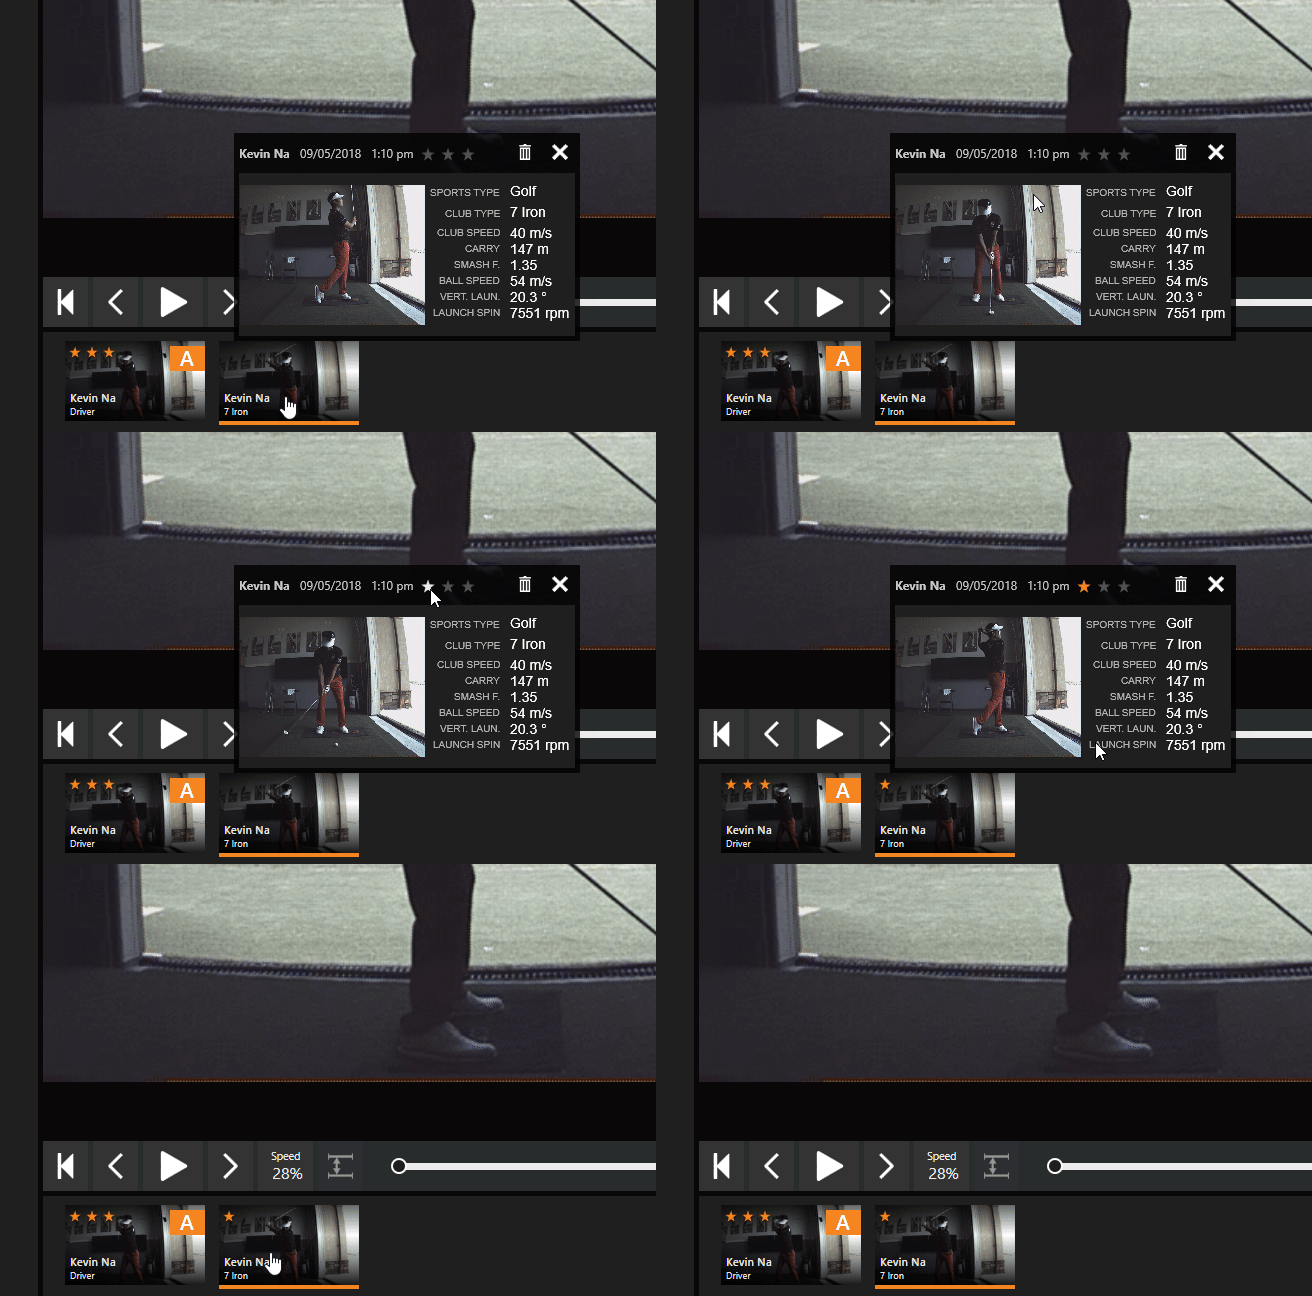
It’s also possible to give a rating (1-3 stars) to a recording. For example, you can filter by rating in the Explorer
Camera layouts selection
In the same dropdown menu, “Layout”, you can select the amount of different camera angles to show, depending on the layout. In playback mode (when viewing a recorded swing) the camera selection depends solely on how many cameras were used to create the recording.
In capture mode the amount of visible cameras depend on how many cameras you have enabled on your system and whether or not the license supports the number of cameras you want to use.
Switching camera angles
If you have recordings with more than one camera it’s possible to change the viewed camera by clicking the camera icon.
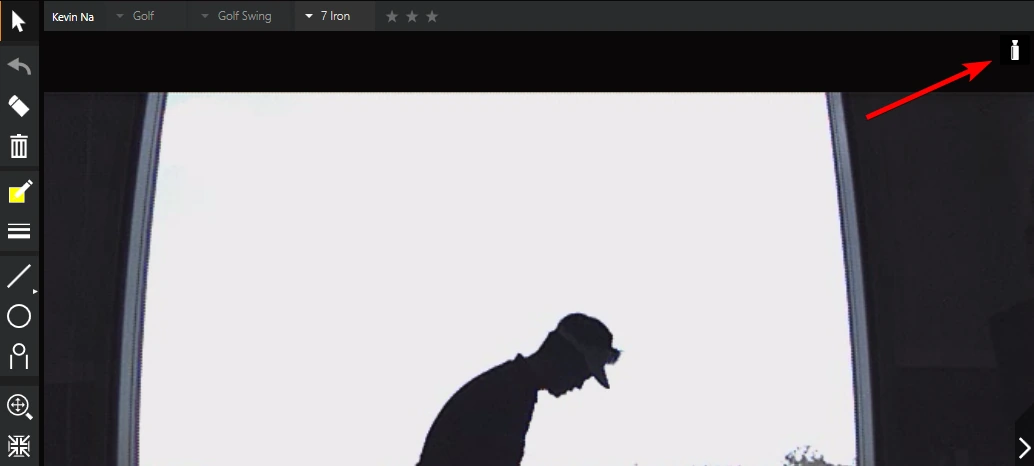
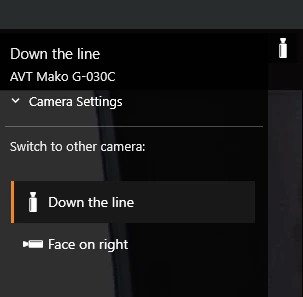
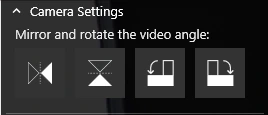
It’s also possible to do some minor camera adjustments from here such as mirror and rotating the camera angle. These changes apply to the recording only, and can be helpful if you wish to compare a left handed user with a right handed etc.
Drawing Tools
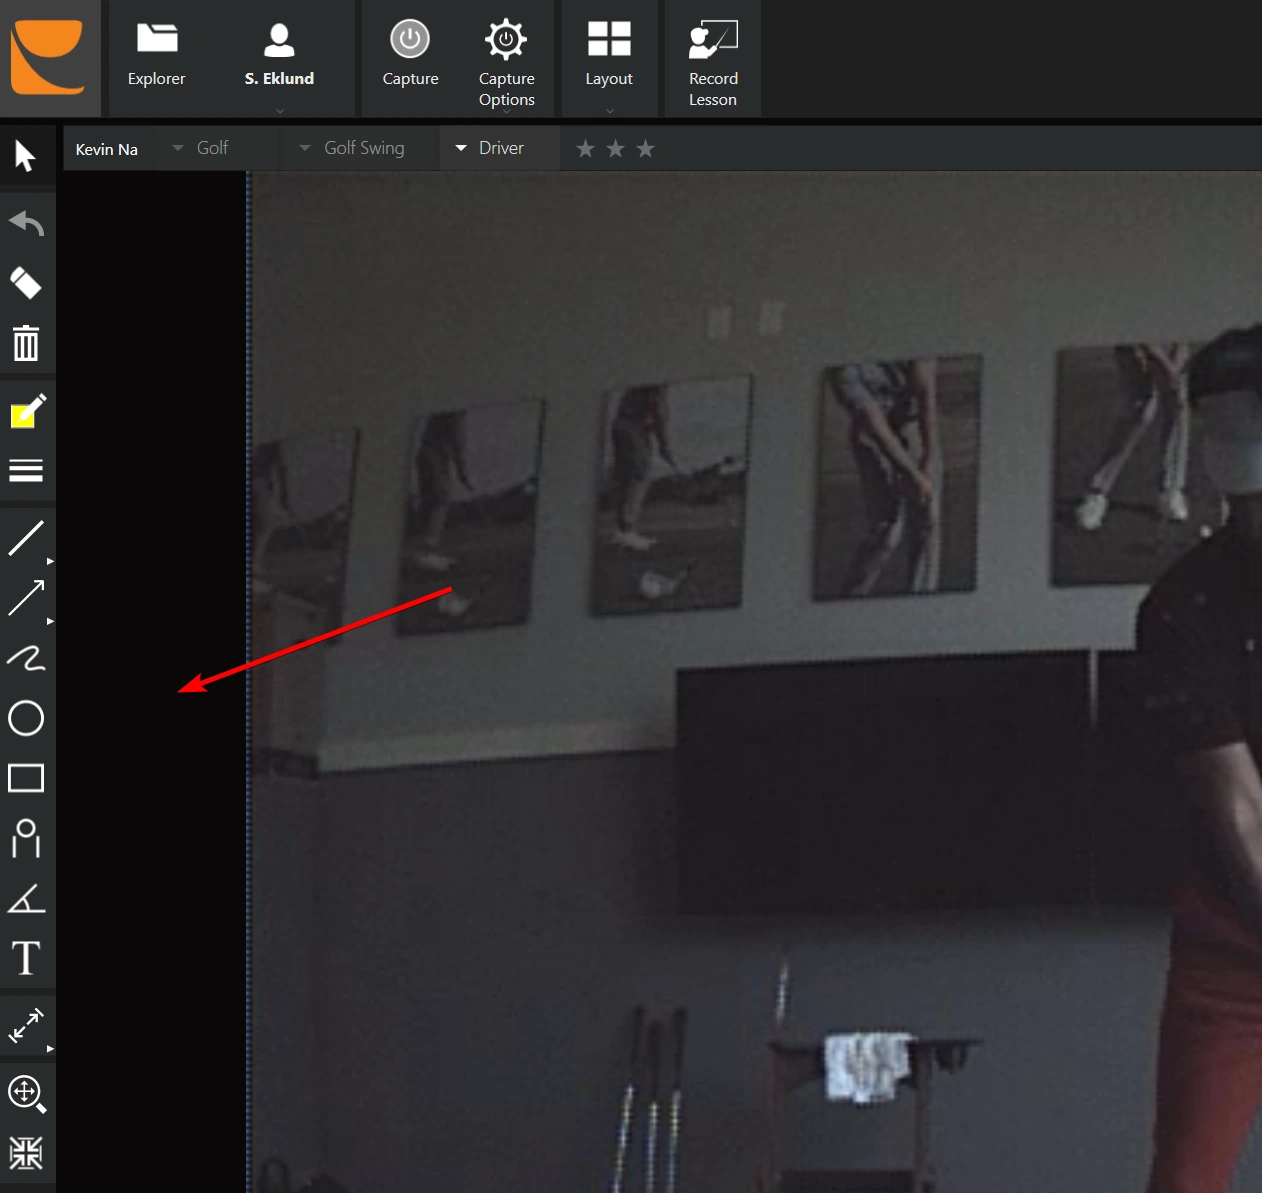
As seen in the screenshot above, the drawing tools can be found on the left hand side of the software.
Drawing tools allow you to draw on top of the video image, both on already recorded videos, but also on the live video “feed” (while in capture mode). The selection of drawing tools can vary between licenses.
Please note: Drawings are not stored to the recordings themselves, but they are remembered per session, so it is possible to draw on one recording and then open other recordings (e.g. previous swings) with the drawings being in the same position.
The same goes for capture and playback, drawing positions are stored but stored independently to capture & playback and are not saved to the recordings themselves.
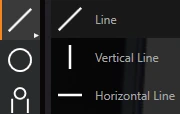
The line tool has a selection of different line types to choose from, the standard “Line” allows you to create a straight line between any point.
Arrow tool
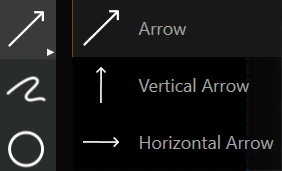
Free hand, right below the arrow tool allows you to draw free hand. Functionally most of these drawing tools are similar. Similarly there are three shapes to choose from, circle, rectangle and Sway Figure (the person-shaped tool). These are often used to follow the movement throughout an activity.
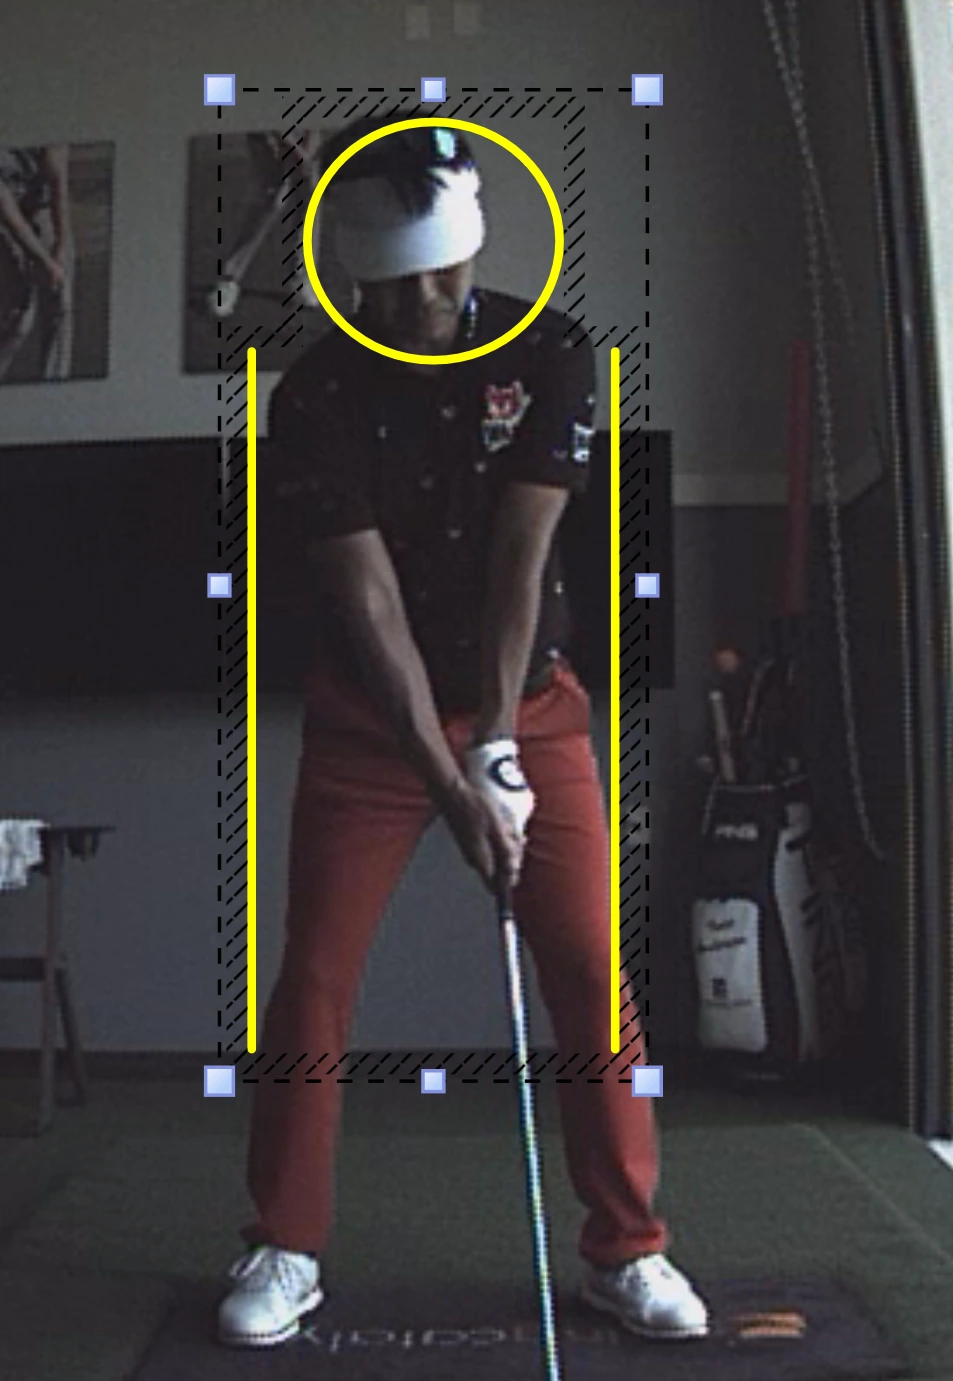
Drawing tools can be a good way of showing how much deviation happens from the initial stance throughout the swing.
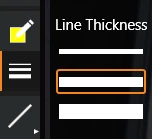
There are three different line thicknesses to choose from.
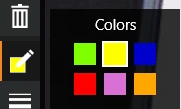
Different colors make it easier to distinguish between different lines.
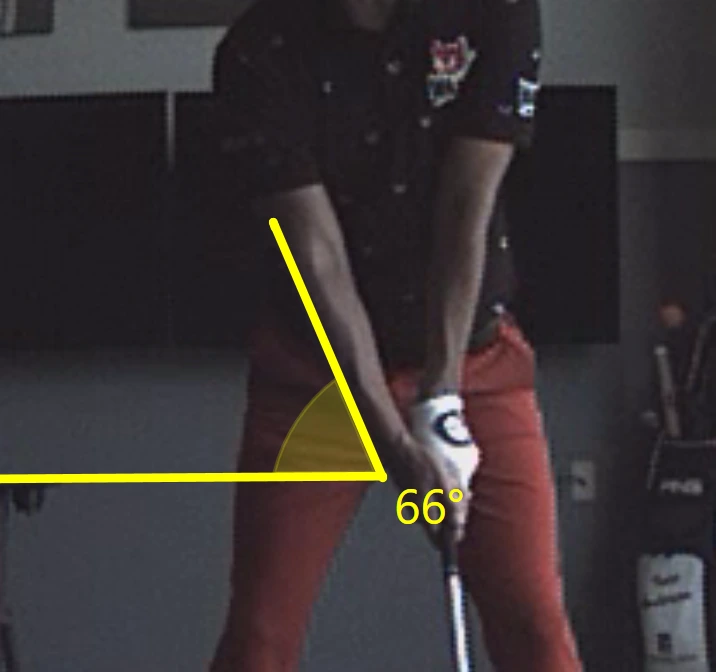
Angle tool
The angle tool is useful to get an approximation of the angle, e.g. the angle of the wrist at the time of impact during a golf swing.
Text tool
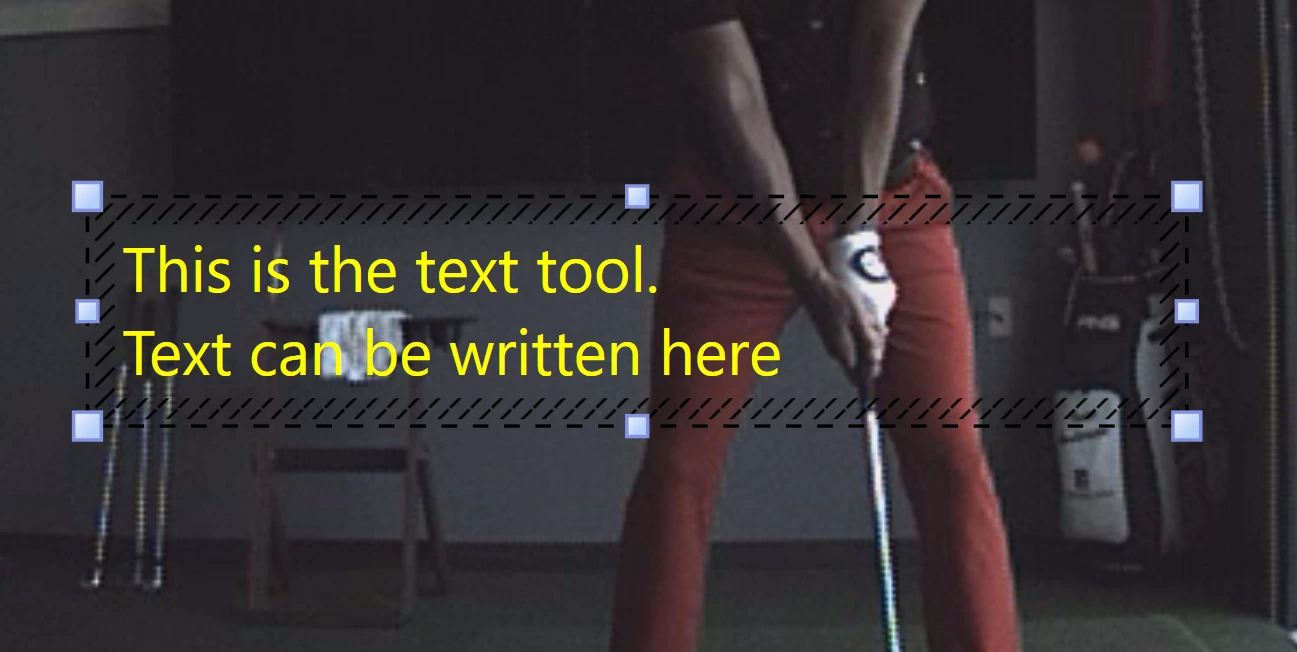
Zoom And Pan Tool
At the very bottom of the toolbar below the drawing tools, is the zoom and pan tool. To fill the video view, open “Zoom Mode” at the bottom of the toolbar and choose “Fill”.
It’s also possible to zoom & manipulate the video image by holding the Ctrl button and scrolling the mouse wheel at the same time.
Save Favorite Layouts
Many users switch between different layouts depending on what they’re working on (teaching, review, comparison, launch monitor focus, force/pressure focus, etc.). Rebuilding a setup each time (changing layout type, camera arrangement, and the content shown in the databoxes) can be time-consuming.
Favorites let you save your current setup so you can switch back to it instantly later. A favorite can include:
The selected layout
The chosen camera layout
The content shown in your databoxes (graphs/visuals)
How to save a Favorite Layout
Set up your screen the way you want:
Choose the Layout (e.g., Single Recording, Compare, Data Centric, etc.)
Choose the number of cameras
Configure the databox content the way you prefer
Click Layout in the top menu to open the layout dropdown.
In the Favorites section, click + Save current.
Enter a name for the favorite (for example: Kinetic sequence, Launch monitor data, Lesson review, etc.).
Click Save.
Your new favorite will now appear in the Favorites list.
How to switch between Favorites
Click Layout in the top menu to open the layout dropdown.
Under Favorites, click the favorite you want to use.
Swing Catalyst will immediately apply the saved setup (layout, camera layout, and databox content), making it fast to move between different coaching or analysis workflows.
Notes and tips
Swing Catalyst will still remember your last used layout in Playback and Capture mode, as before. Favorites are simply a faster way to jump to specific setups when you want them.
In Playback mode, the available camera views depend on how many cameras were used in the recording. In Capture mode, the available camera views depend on how many cameras are enabled and what your license supports.
Use clear names that describe the purpose of the setup (e.g., Pressure & Stance, Club Data, Quick Compare), so switching is effortless during a session
Explorer
You can easily manage your recordings here. The Explorer is grouped into three “sections”:
On the left are users that are registered in the system, in the middle are all of the recordings for the respective user, and on the right is the preview section.
Recordings are automatically grouped into sessions and sorted by date.
- Click on a swing and it will automatically preview in the “Preview” section (on the right).
You can also open recordings by right clicking and selecting which view port you wish to open them in, or alternatively drag the the “Drop Recording here” zones at the bottom.
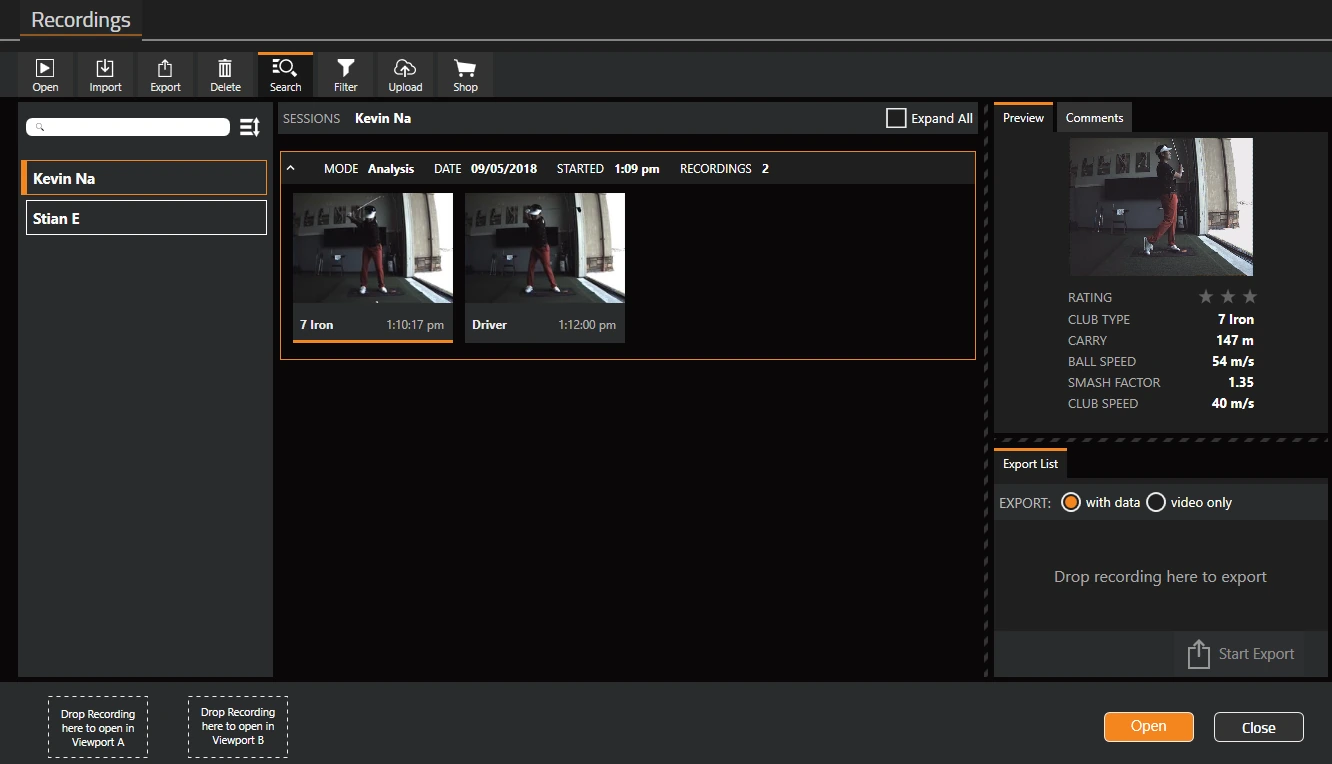
A closeup view of the Explorer menu

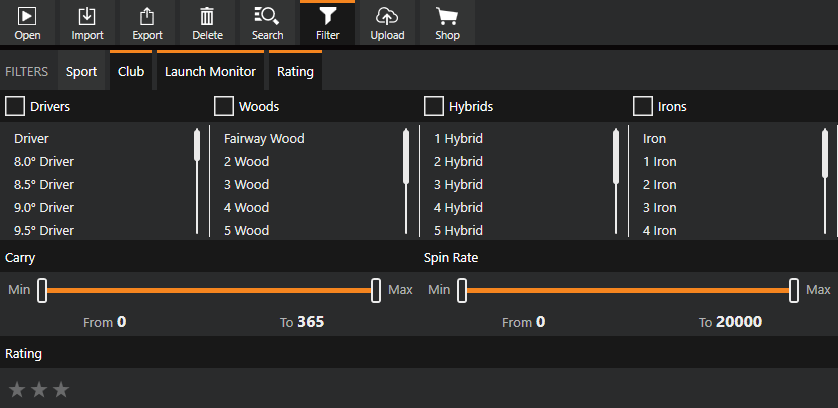
Filtering
It’s possible to filter recordings based on different collected parameters such as:
Sport (Although Swing Catalyst is only used for golf it’s possible to view recordings from different sports)
Club type
Launch monitor data (carry distance, spin rate or smash factor)
Rating (1-3 star rating)
This screenshot shows some of the filtering options available.
Resources & Troubleshooting
Most common problems
These are the most common problems users face and some tips on how to tackle them.
Swing Catalyst will display notifications with different severity levels in the bottom left of the screen while in capture mode.
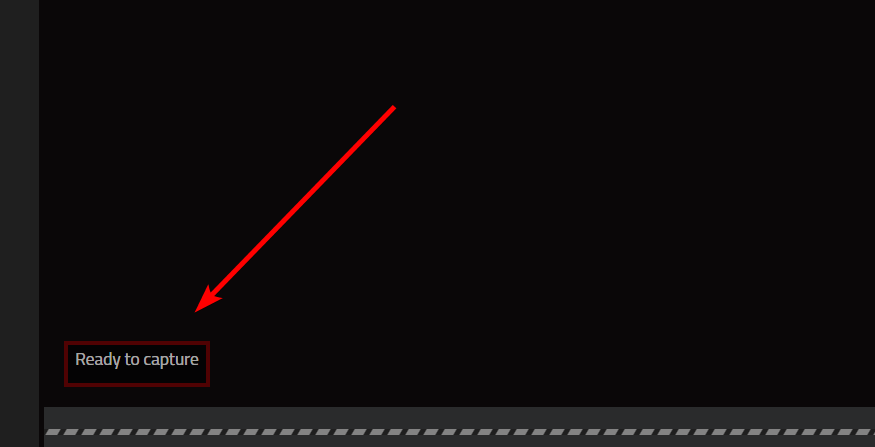
Recording status is indicated by the progress circle, along with the “Discard Recording” button allow you to cancel the recording.

The progress indicator can be expanded to see details on what is being currently encoded / processed any issue with connected devices.

Insufficient data received notifications

In this scenario there is a bad connection to the sensor plate and Swing Catalyst is not receiving the required data amount.