Use a Web Camera With DirectShow Integration
- Note: USB cameras were tested in a lab environment.
Connecting a camera
Enable the camera from the Settings menu.
Click the gear icon.

Settings menu
Note that the camera integration type is identified, e.g. DirectShow, Spinnaker:
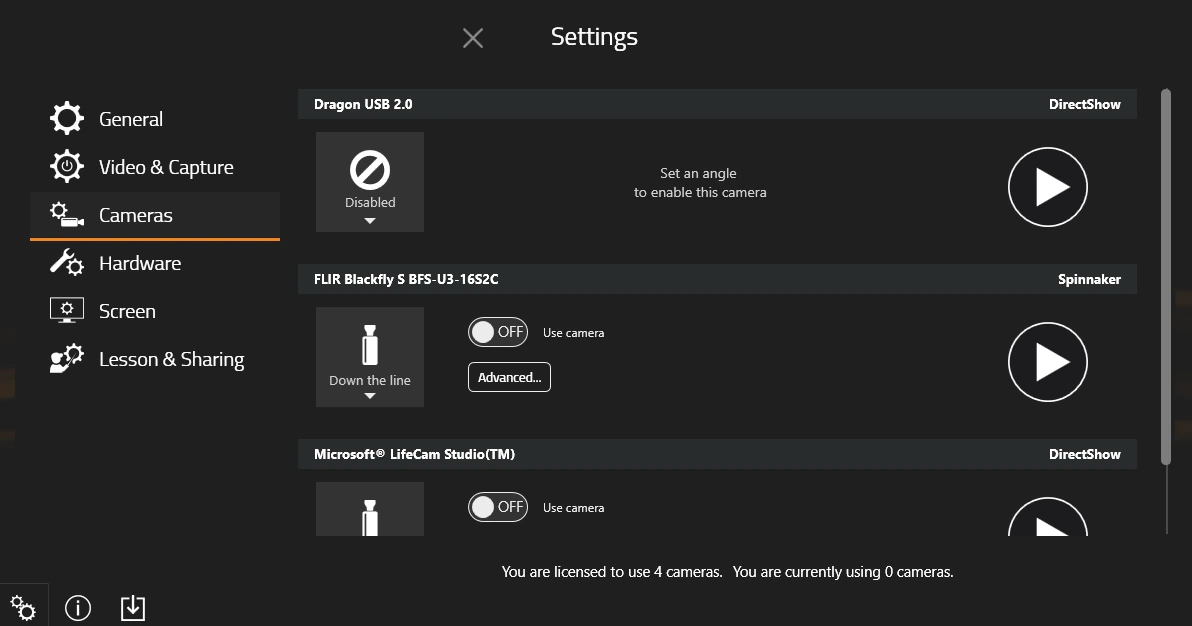
If properly detected the camera will automatically appear in the camera list.
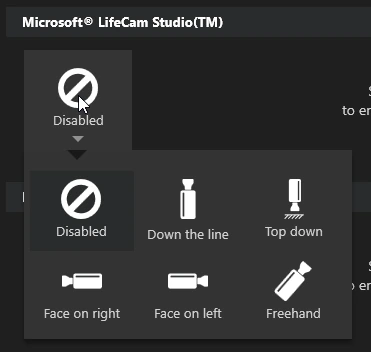
In order to use the camera it needs to be assigned a camera angle, click the “Disabled” icon and select an angle, then flip the “OFF” switch to “ON” to enable the camera.
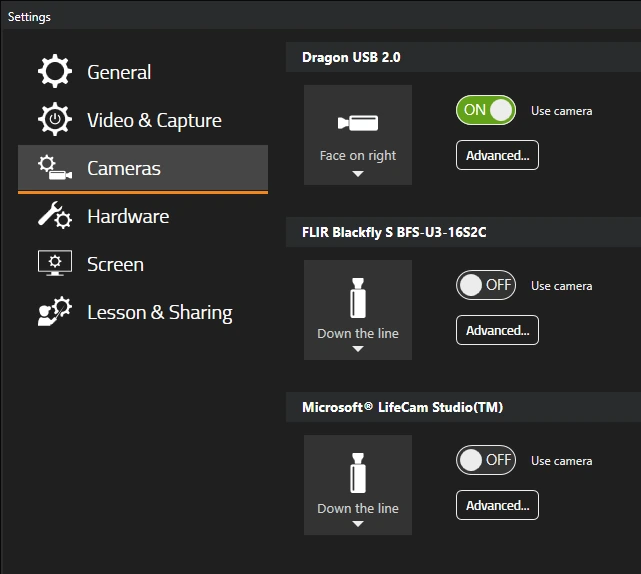
Dragon camera is enabled and designated as the face on right camera (meaning it is facing the user from the right).
Advanced Camera Settings
The advanced camera settings gives you the ability to change the name of the camera, mirror & rotate, crop, and adjust the video image and make settings changes.
Note: Auto is only available for certain properties, such as white balance, exposure, and focus).
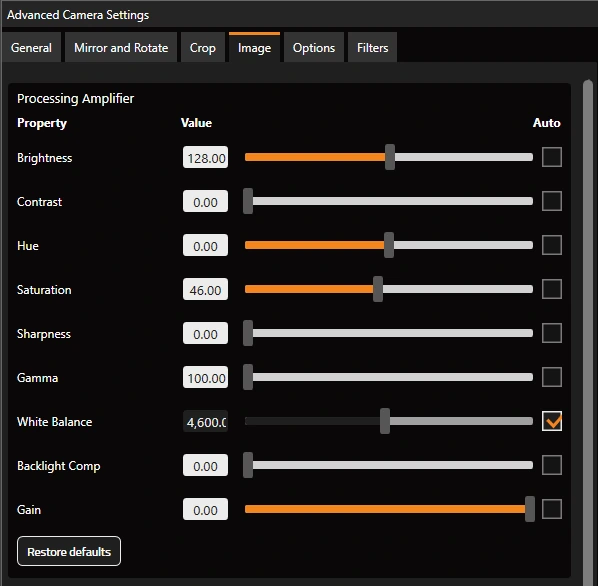
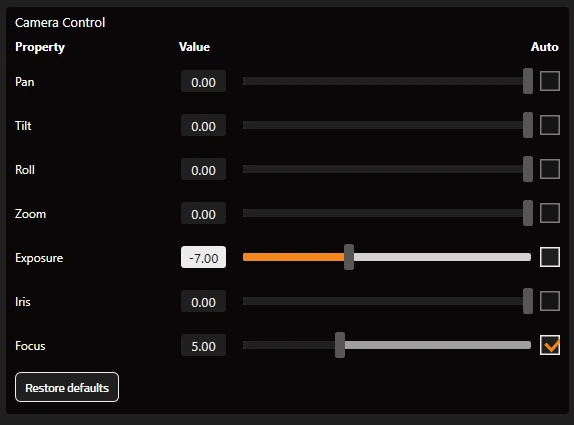
If you any erroneous changes, you can revert to default) by clicking “Restore defaults”.
Troubleshooting
Low Frame Rate:
Frame rate may be lowered due to the exposure set on the camera.
By default most cameras are set to auto exposure, if you don’t have enough light, the exposure time per frame will be high, and the camera will be unable to provide the maximum frame rate.
If the exposure is too high, the frame rate will be reduced, and the recording will be blurrier.
Dropped frames:
If the camera is dropping frames (in this case it is not giving the FPS it should be), it can introduce visual artifacts.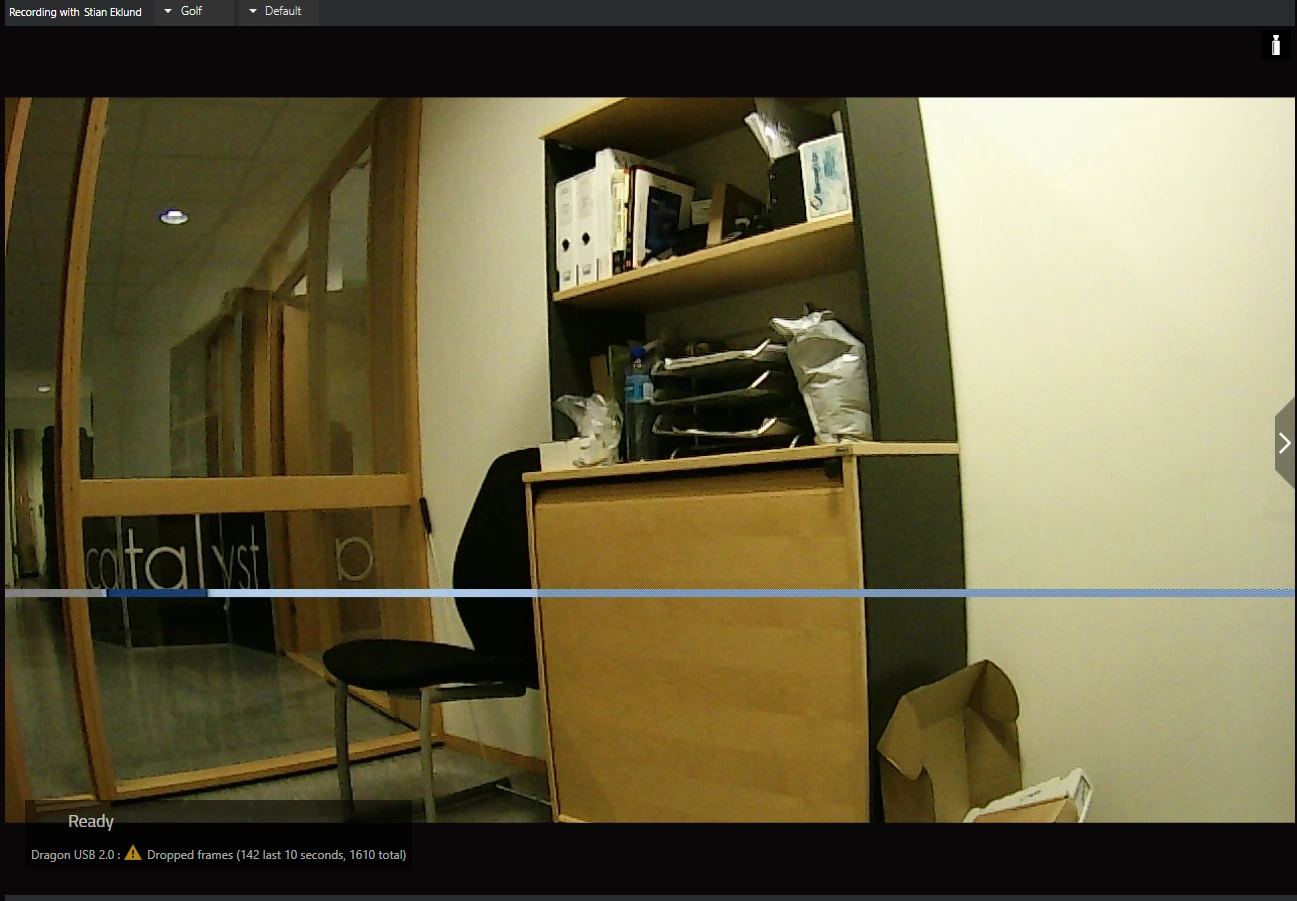
Make sure that the camera is connected directly to the computer, and ideally to one of the USB ports in the back of the computer.
You may have to try different USB ports to find one that works best for you, generally we want to avoid USB ports situated in the front of a desktop PC as the performance is poor (will often give a lower frame rate).
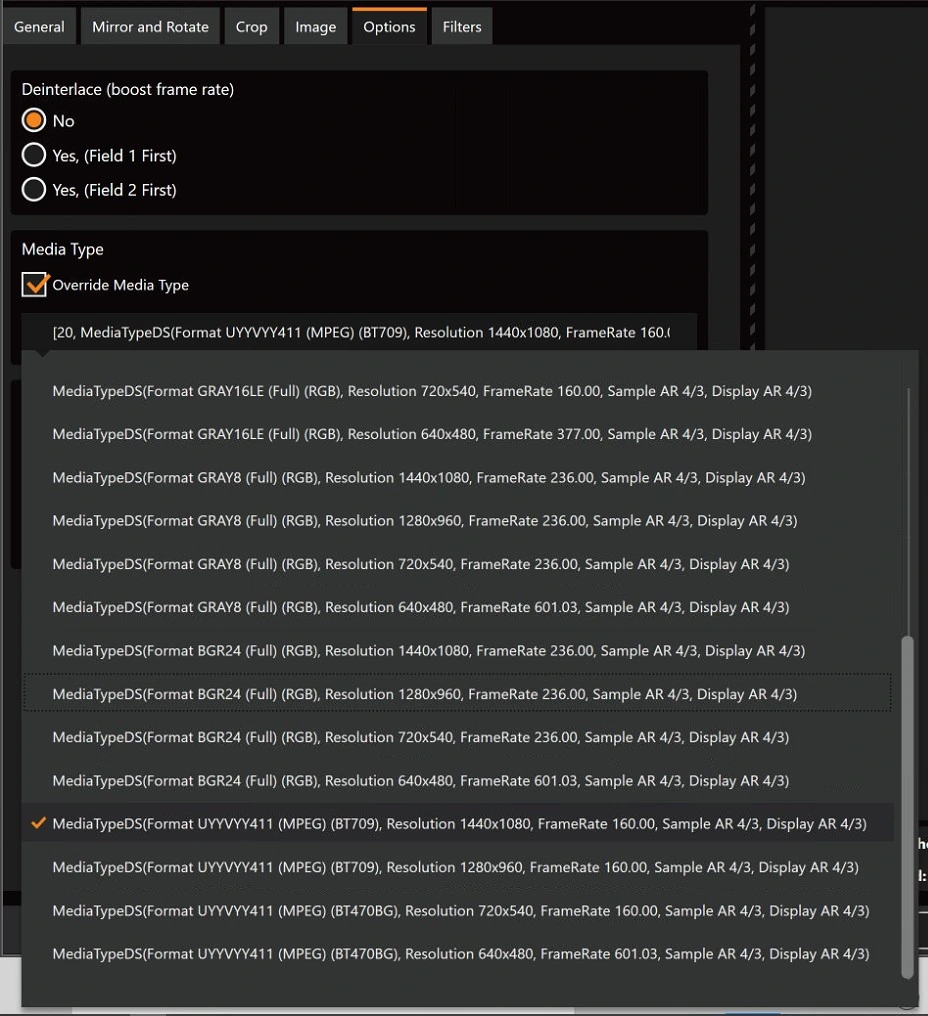
Selecting a different Media Type
Normally DirectShow and Swing Catalyst will automatically select the best media type and changing it shouldn’t be necessary, however some cases / scenarios do warrant this:
If you have a web camera that is 60 FPS at 1920x1280 resolution and you’re only getting 30 FPS
The video resolution appears smaller / worse compared to other applications
You’re experiencing dropped frames and or insufficient data received.
Certain formats use less bandwidth than others. If the camera supports RAW8, GREY8, or other 8-bit imaging formats, these use much less bandwidth than uncompressed RGB formats. Compressed formats such as MJPEG or MPEG use less bandwidth still, but the computer must spend CPU time decoding them, and compression can add visible artifacts.