
Improving camera image quality
A dark, soft or noisy picture from a machine vision camera can often be fixed in the software. Swing Catalyst has three video filters for this: sharpening, gamma and denoise. This article shows what each one does and where to find them. How much they help depends on the camera type and model.
Machine vision cameras send raw sensor data, which the software turns into a picture itself. That is why the filters below make a bigger difference on those cameras. Web cameras and DirectShow devices do their own processing inside the camera, so there is less left for you to change.
Since version 26.1 the software does more of that work for you, including correcting color for your camera model. See Camera color and video rendering settings . The filters below sit on top of that and remain useful for taste and for room conditions.
Requirements
- Any camera compatible with Swing Catalyst.
- A dedicated graphics card (GPU). The video filters run on the graphics card, so they add to its load with every camera you apply them to.
Jumping straight to the results
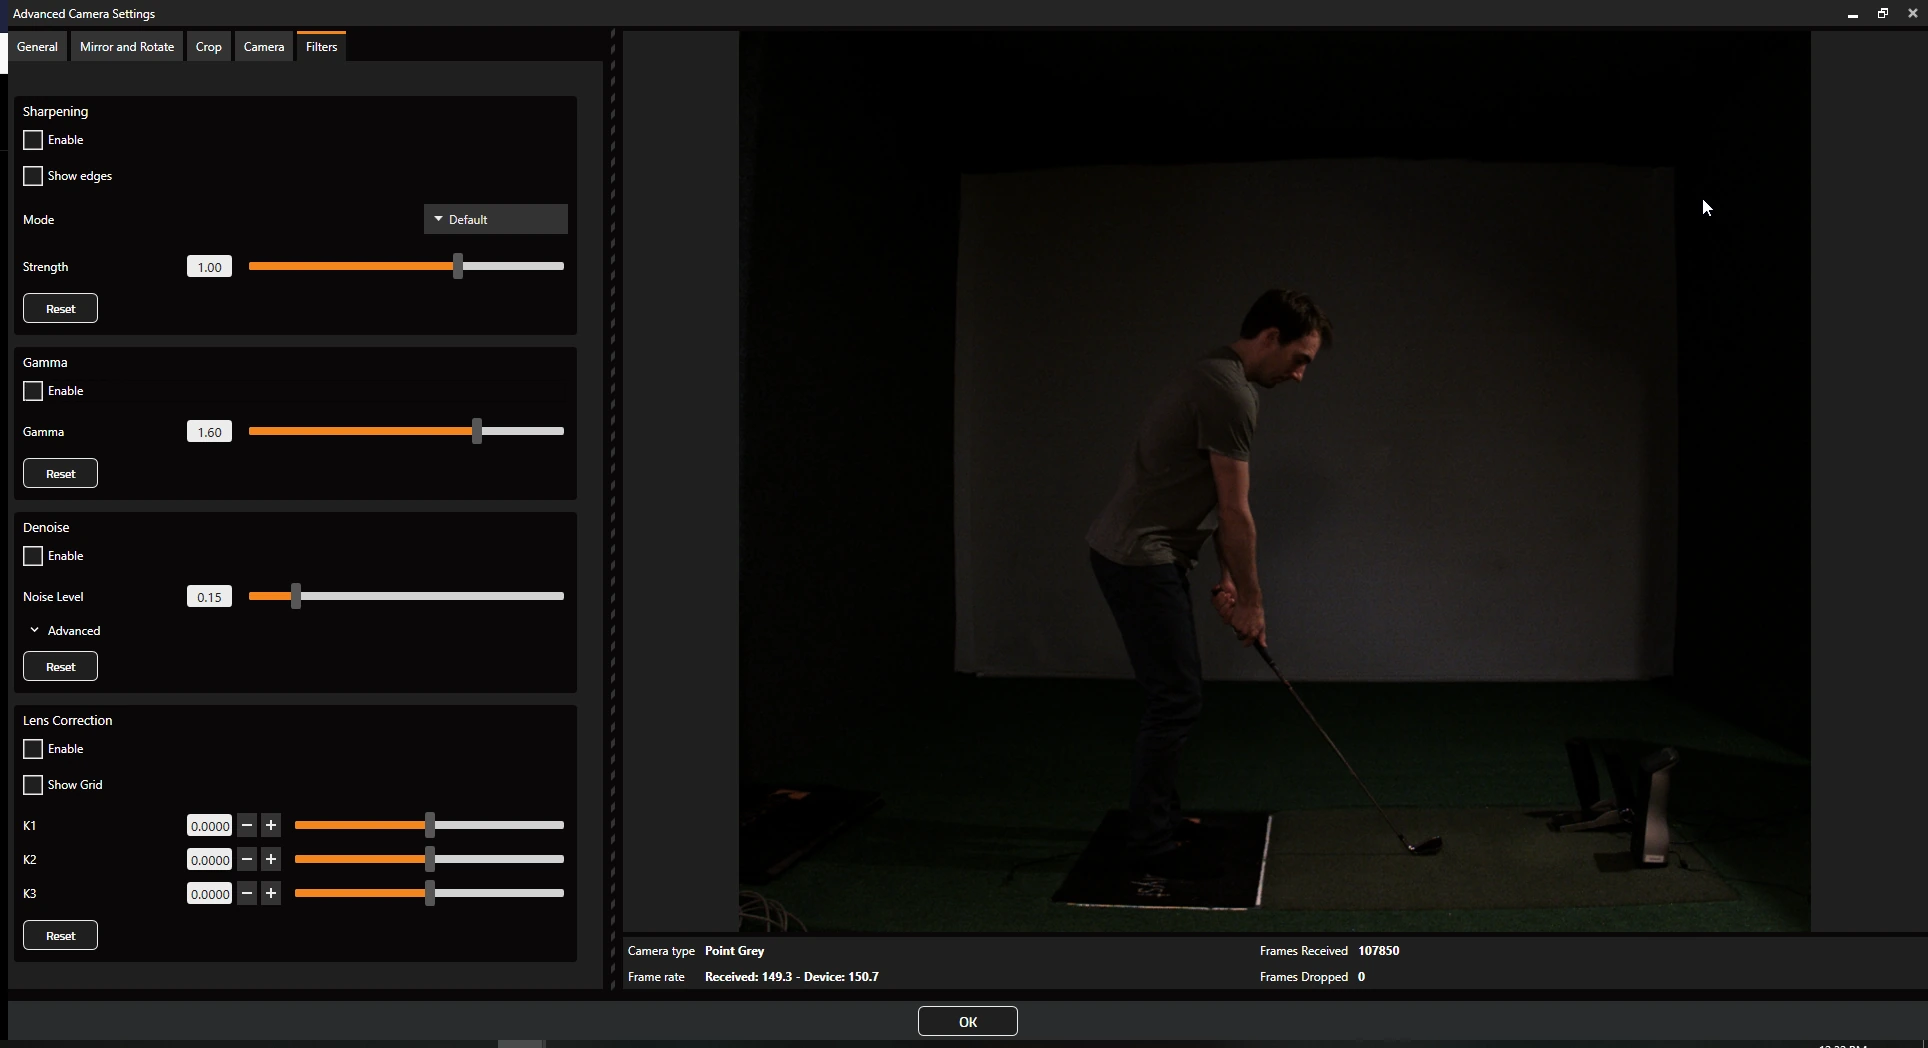
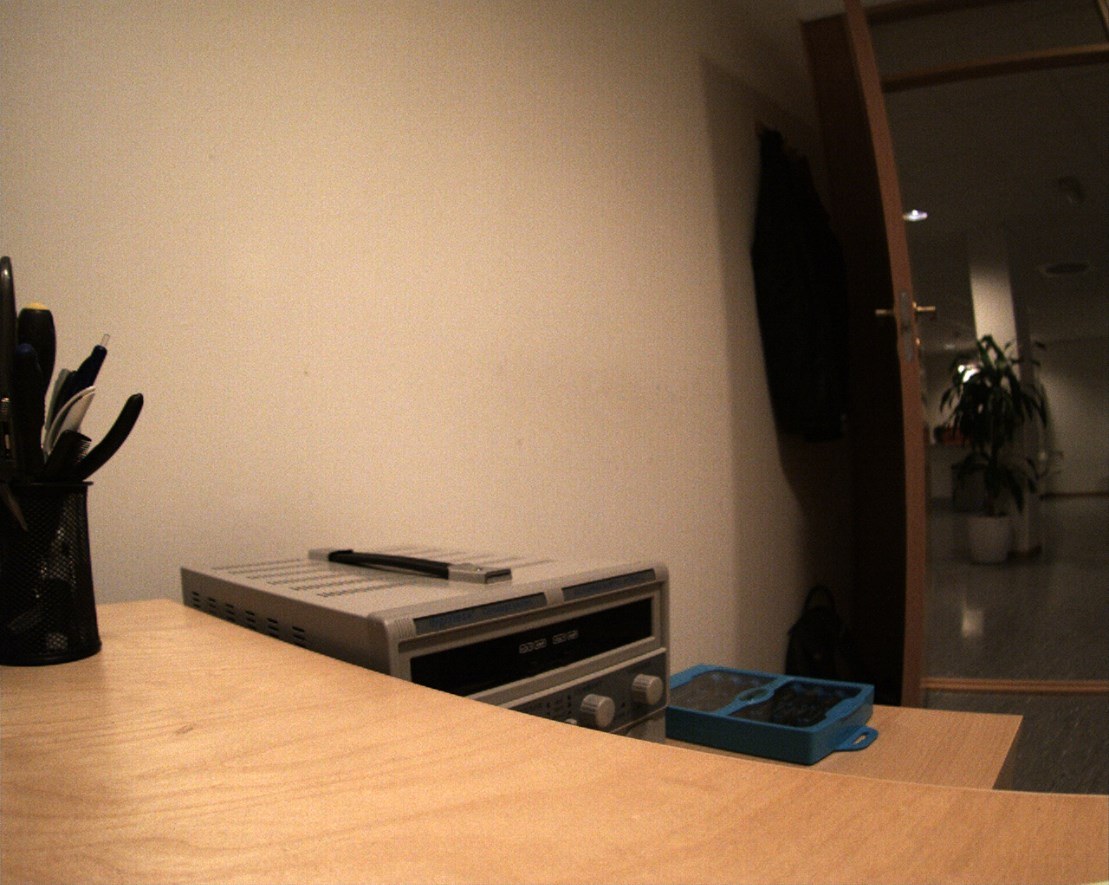
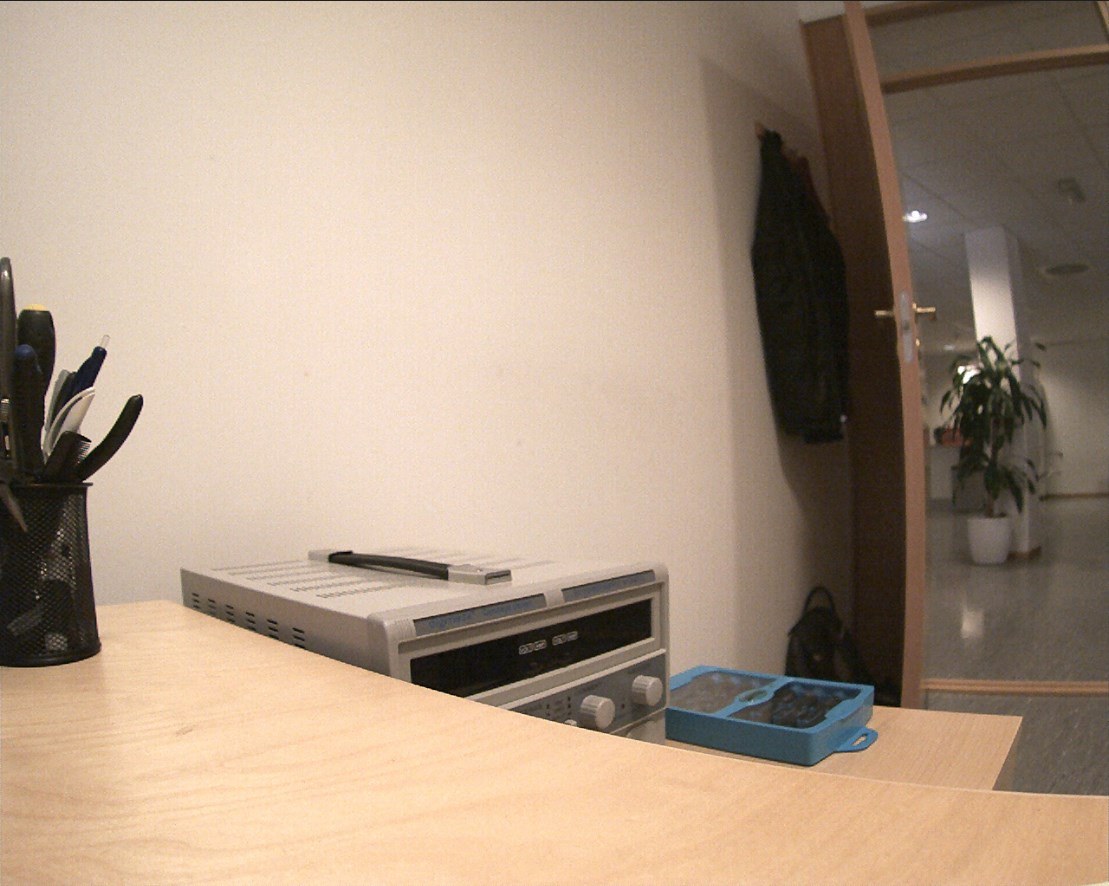
The screenshots are from a Point Grey Chameleon 149 FPS USB 3.0 camera in our test lab, and with alternative screenshots from our offices.
The two dialog screenshots below are from an older version of the software. The Lens Correction section with its K1, K2 and K3 sliders is no longer in the Filters tab; see Lens correction at the end of this article.
Without filters:
With Sharpening, Gamma and Denoise filters enabled:
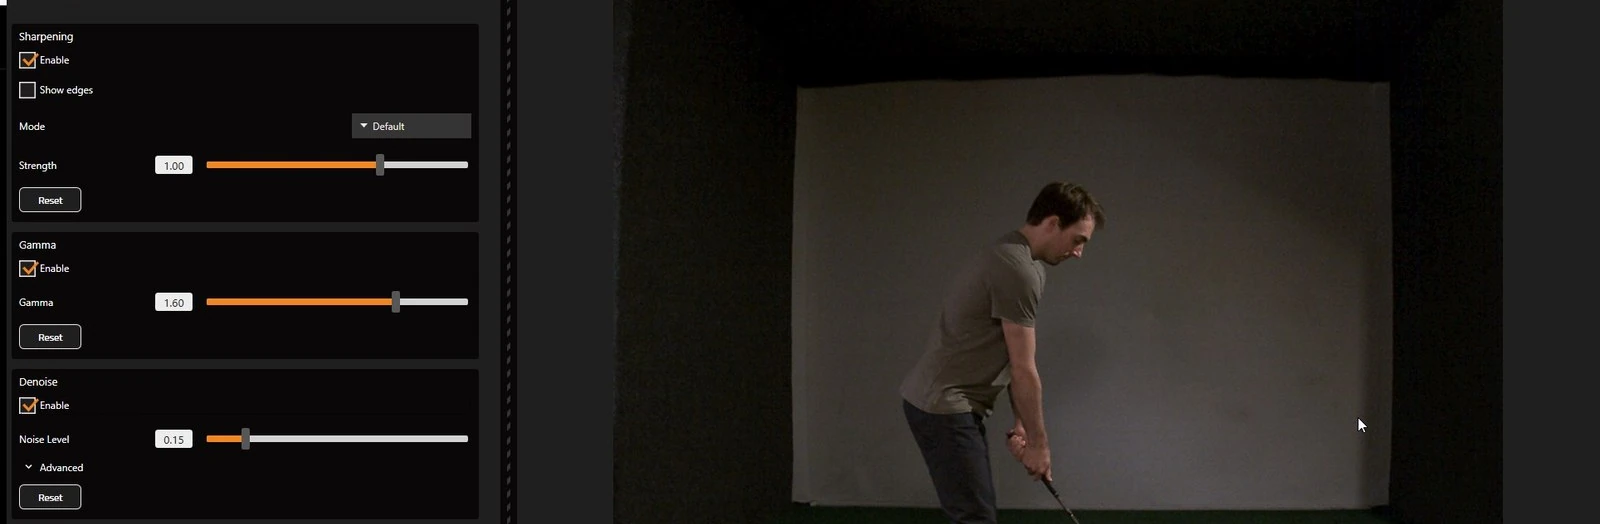
The image goes from being borderline unusable to usable.
Without filters:
Sharpening, gamma and denoise filters on:
Getting to know the video filters
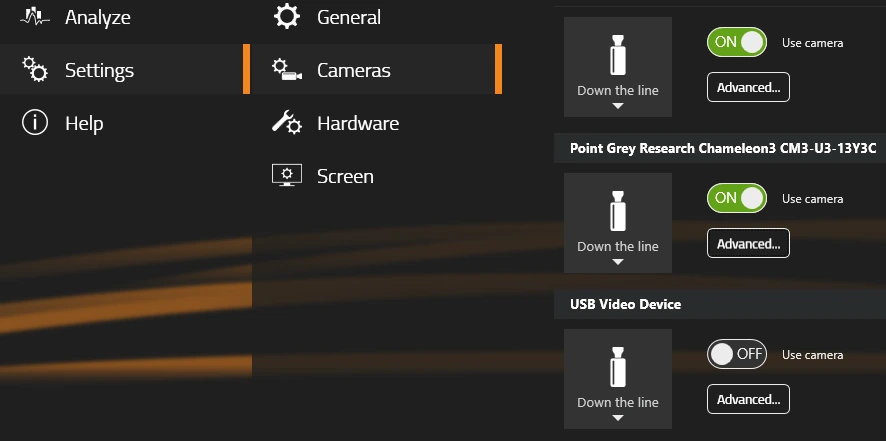
The video filters are in the Advanced camera settings and are applied per camera.
To reach them, open Settings, then Cameras. Click the Advanced… button for the camera you want to adjust, then click the Filters tab in the Advanced Camera Settings dialog.
Gamma
Machine vision cameras usually do not apply any gamma correction, so adjusting the gamma in Swing Catalyst can make a big difference. Increasing gamma brightens the darker tones and midtones the most, while pure black and pure white stay the same. Too high a gamma gives a washed out, gray looking picture.
No gamma adjustment (camera default):
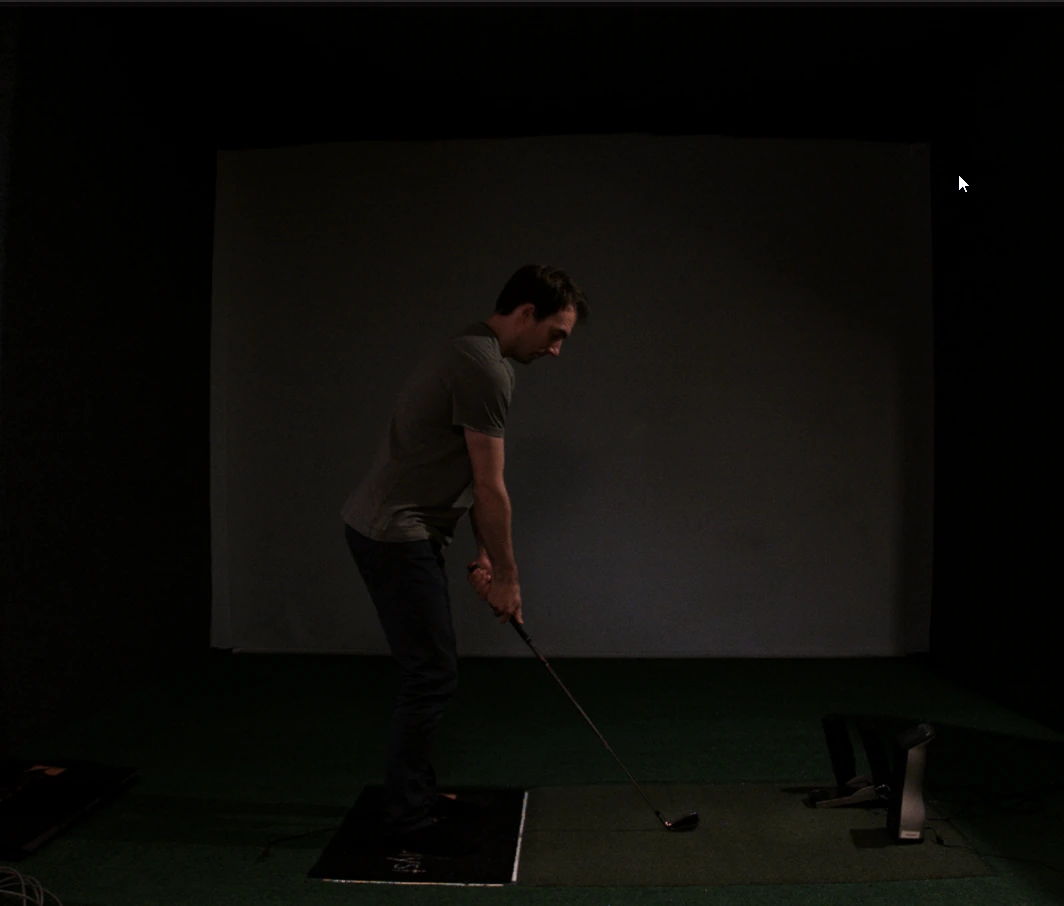
Gamma adjustment (1.6):
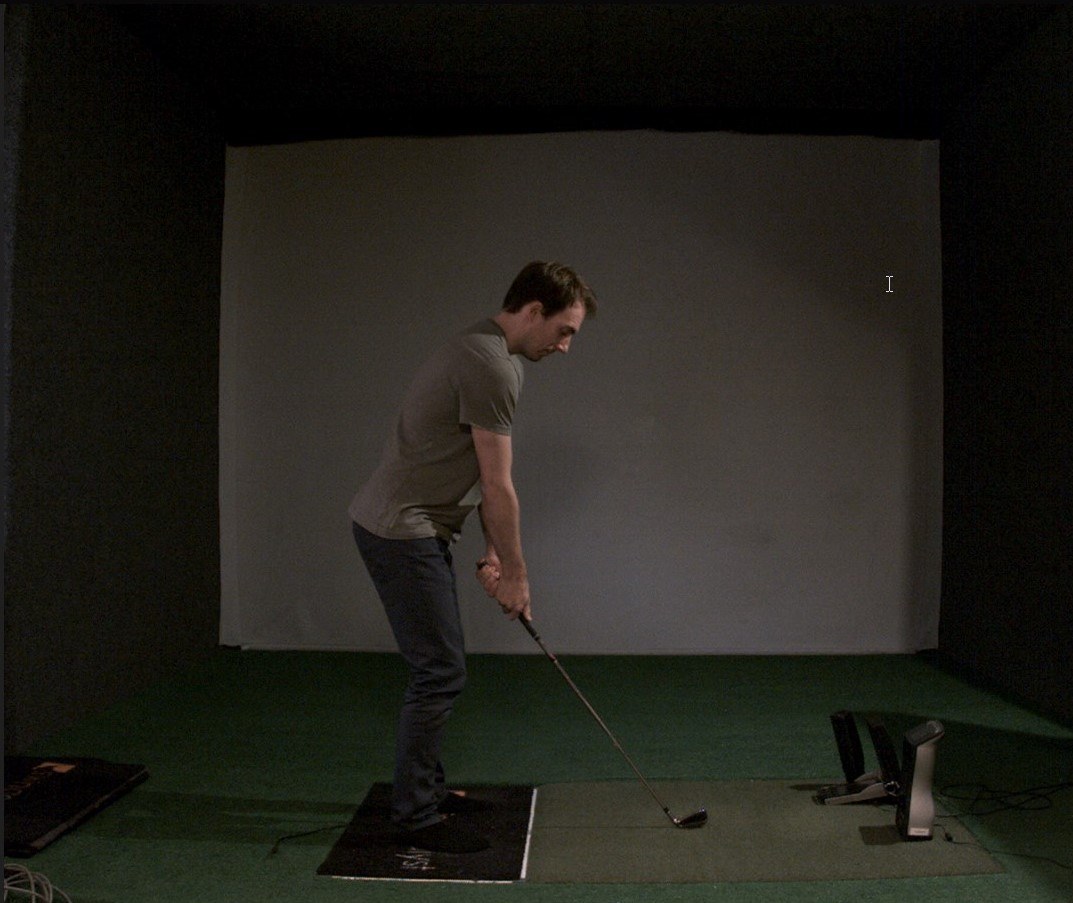
No gamma adjustment:
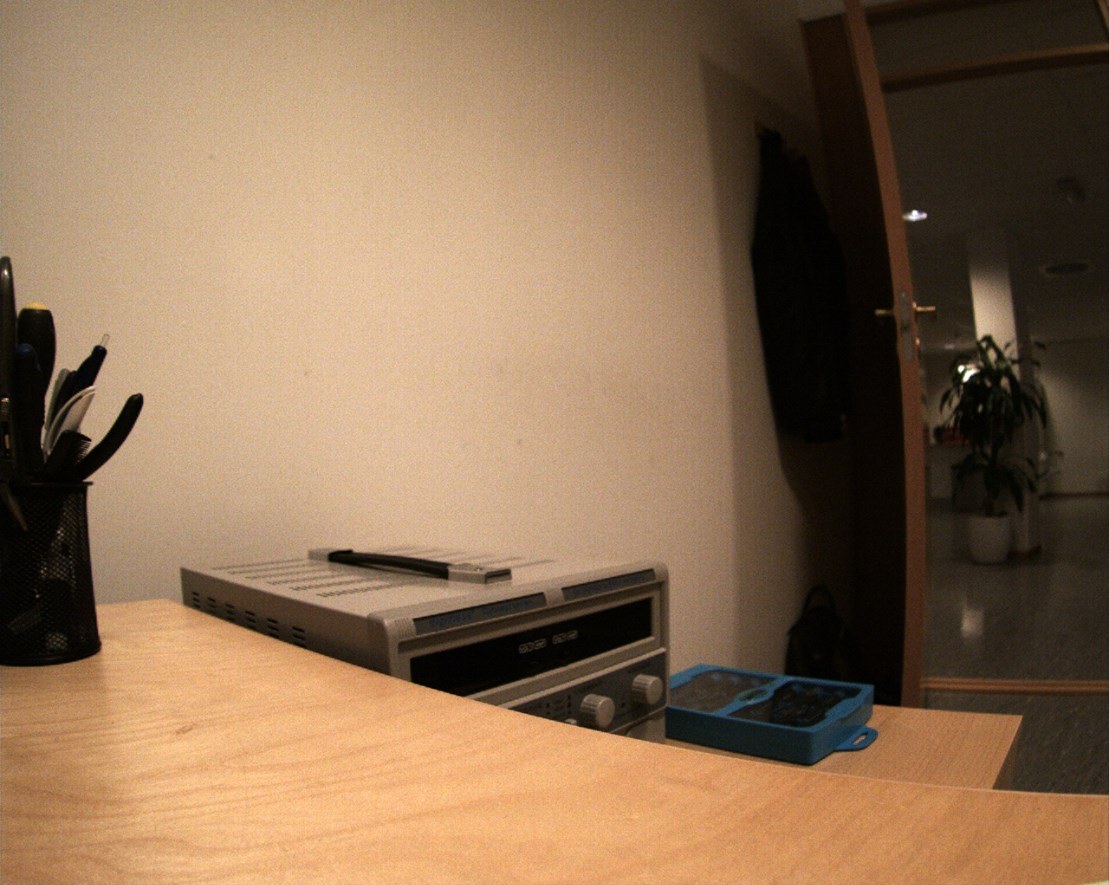
Gamma 1.6:
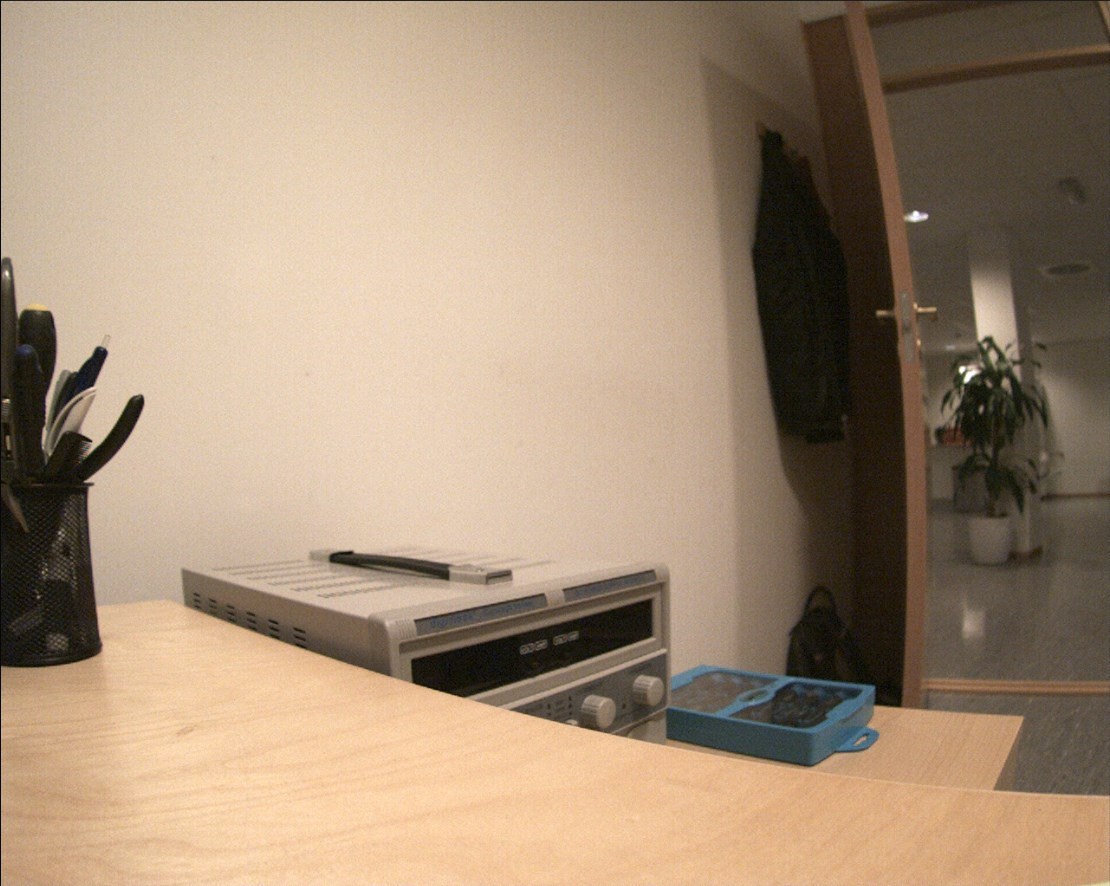
Sharpening
The sharpening filter enhances the edges of objects in the image, mostly of whatever is in focus. Sharpening also makes noise more visible, so we generally avoid maximum gain when sharpening is on. How much noise there is at maximum gain varies a lot between camera sensors.
In the two screenshots from our test lab, the gamma filter is enabled, because otherwise it is difficult to see the differences.
This is the default, no sharpening enabled:
Sharpening enabled:
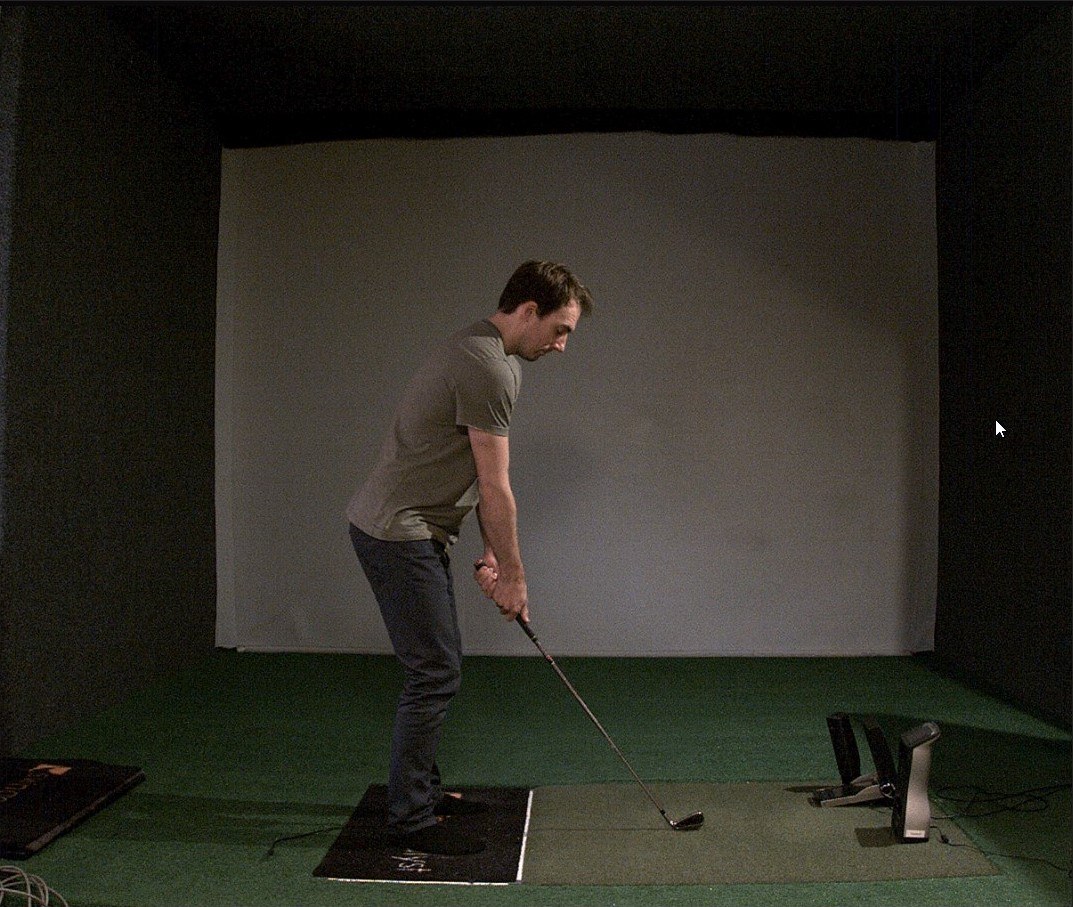
Note how the Balance Plate and club become sharper, but the impact screen becomes noisier.
Alternative (no sharpening):
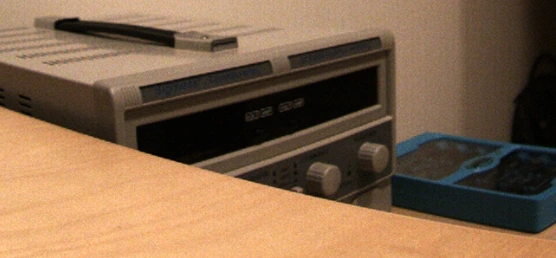
Sharpening enabled:
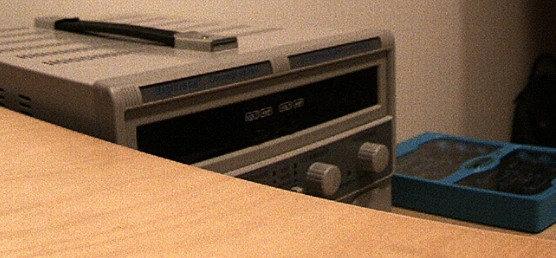
Notice how the text on the power supply becomes easier to read, but the image becomes much noisier.
Denoise
The denoise filter is useful when there is a lot of noise in the video image, whether from high gain or something else. Sharpening and denoise together give good results.
Gamma and sharpening only:
With Gamma, sharpening and denoise:
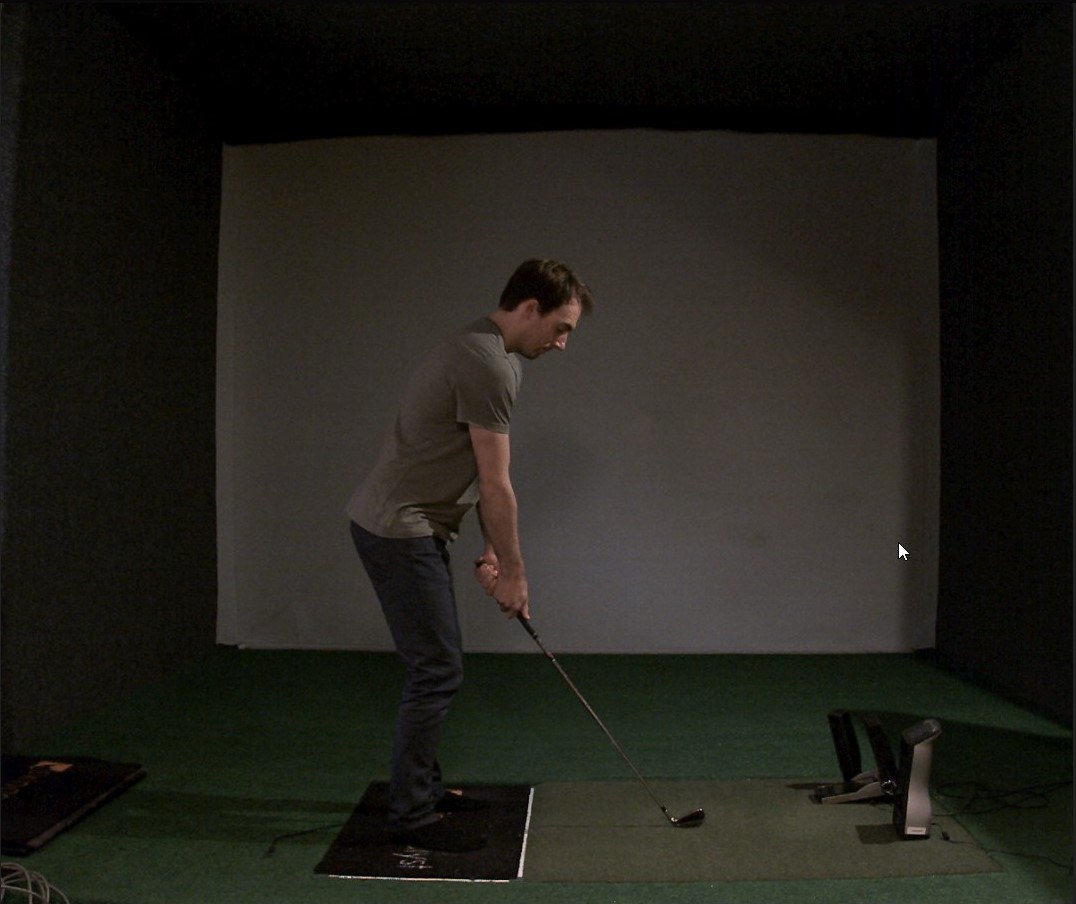
Note how the noise around the turf and the screen has been reduced a lot.
Alternative (no filters):
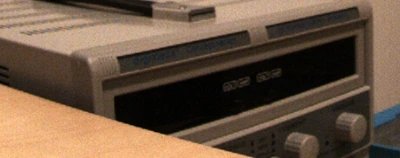
Denoise enabled (notice how the chassis of the power supply has less white noise):
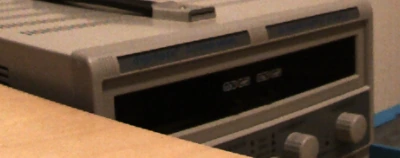
Sharpening and denoise enabled:
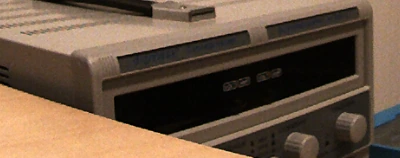
Lens correction
Lens correction is no longer something you tune here. You calibrate it by moving a printed board across the camera’s field of view. The software works out the correction from what it sees.
It belongs to the lens, not to the camera body. Changing the lens, or changing the zoom on a varifocal lens, changes the distortion, so that combination needs calibrating again.
Automatic lens distortion correction covers the whole process.