Use the Dragon (120 FPS) USB 2.0 Camera
How to use the Dragon USB 2.0 cameras with Swing Catalyst
This article covers how to setup and use the Dragon USB 2.0 camera with Swing Catalyst.
This camera does not require any external driver installation.
For troubleshooting: Please see the troubleshooting section at the bottom of the article.
Connecting the camera
Connect the camera to your computer and start Swing Catalyst.
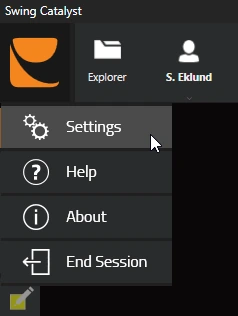
From the main menu, click the Settings button (found at the bottom left of the screen, indicated by the gears icon) and then click Cameras.

Settings
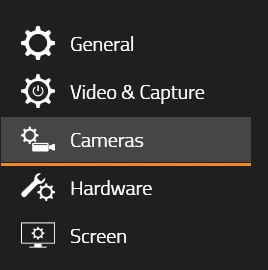
A successfully detected camera will automatically show up in the camera list
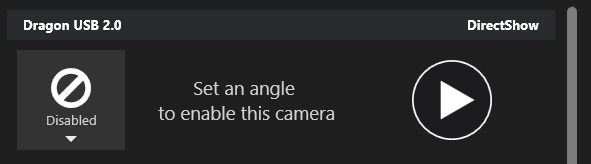
In order to use the camera we first need to assign a camera angle.
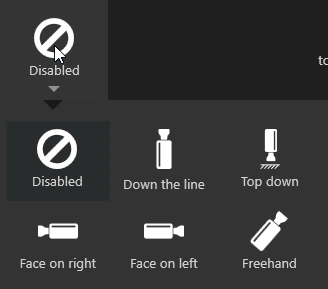
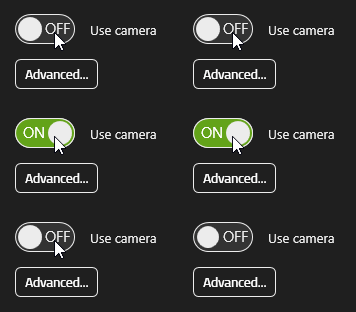
The camera is now enabled and has a camera angled assigned to it.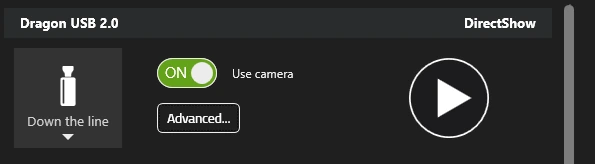
Camera Settings
Changing your cameras settings.
Note: This is generally not needed unless you wish to change the white balance or gamma. Exposure is by default set to auto and should be sufficient in most use cases.
It may be necessary to change the exposure settings depending on your lighting environment.
Click “Advanced”
Note: Auto is only available for certain properties, such as white balance, exposure, and focus).
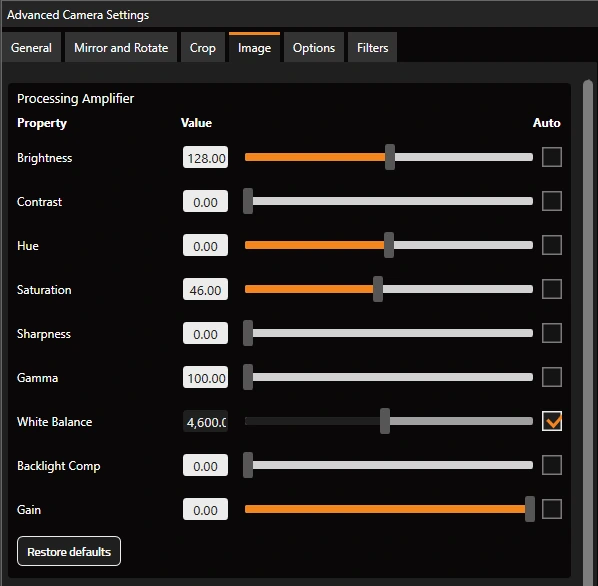
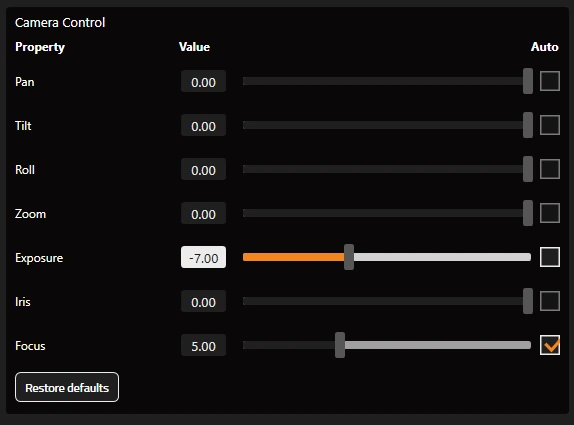
If you any erroneous changes, you can revert to default) by clicking “Restore defaults”.
Troubleshooting
Low Frame Rate:
Frame rate may be lowered due to the exposure set on the camera.
By default the Dragon camera is set to auto exposure, if you don’t have enough light, the exposure time per frame will be high, and the camera will be unable to provide a stable 120 frames per second.
If the exposure is too high, the frame rate will be reduced, and the recording will be blurrier.
The same happens when you try to take a photo on your phone when it’s dark, the image can become streaky, this is due to the long exposure time (to compensate for lack of optimal lighting conditions).
You should be able to get ~120 FPS with adequate indoor lighting or outdoors.
Dropped frames:
If the camera is dropping frames (in this case it is not giving the FPS it should be), it can introduce visual artifacts.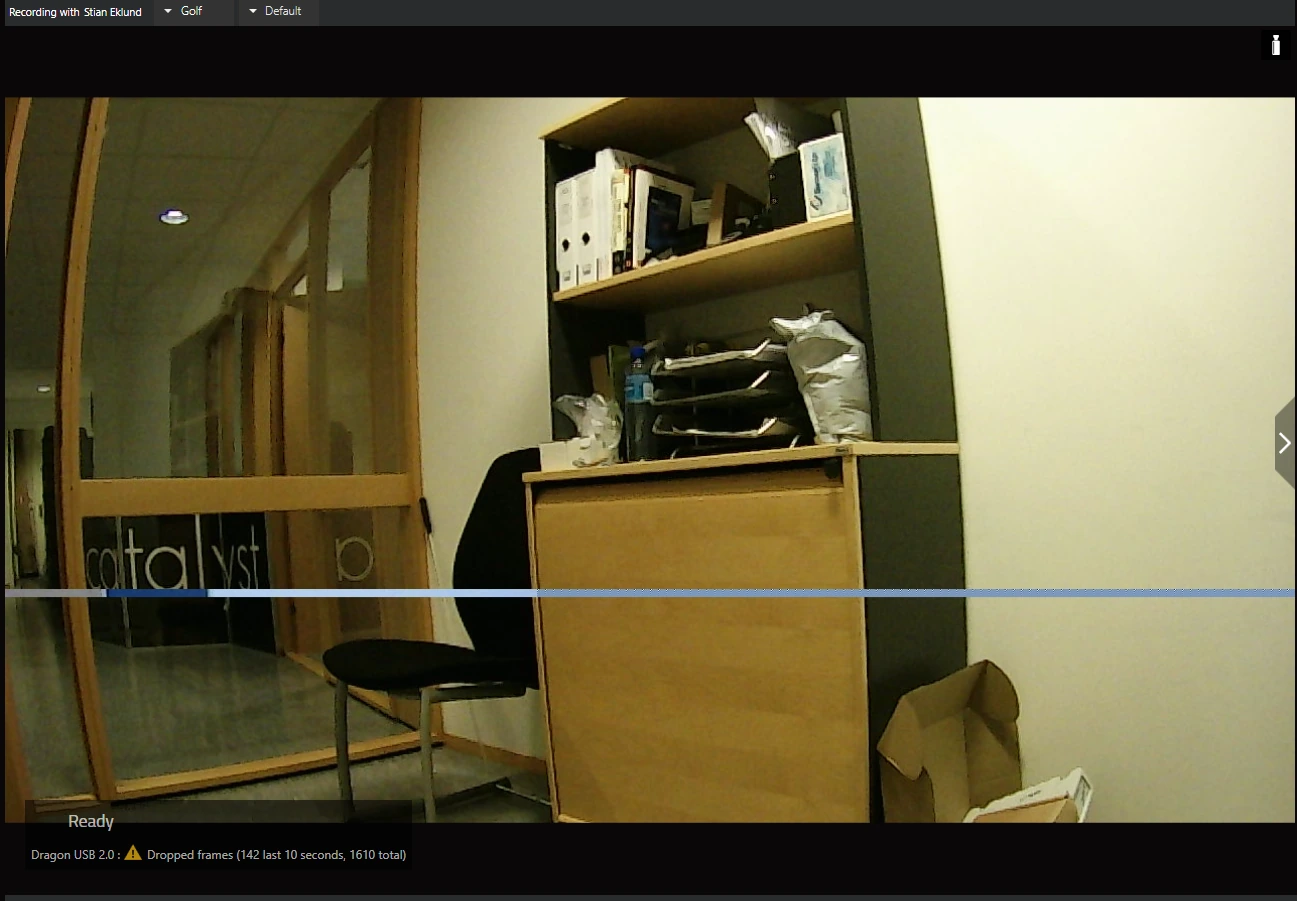
Make sure that the camera is connected directly to the computer, and ideally to one of the USB ports in the back of the computer.
You may have to try different USB ports to find one that works best for you, generally we want to avoid USB ports situated in the front of a desktop PC as the performance is poor (will often give a lower frame rate).
Selecting a different Media Type
Normally DirectShow and Swing Catalyst will automatically select the best media type and changing it shouldn’t be necessary, however some cases / scenarios do warrant this:
If you have a web camera that is 60 FPS at 1920x1280 resolution and you’re only getting 30 FPS
The video resolution appears smaller / worse compared to other appliations.
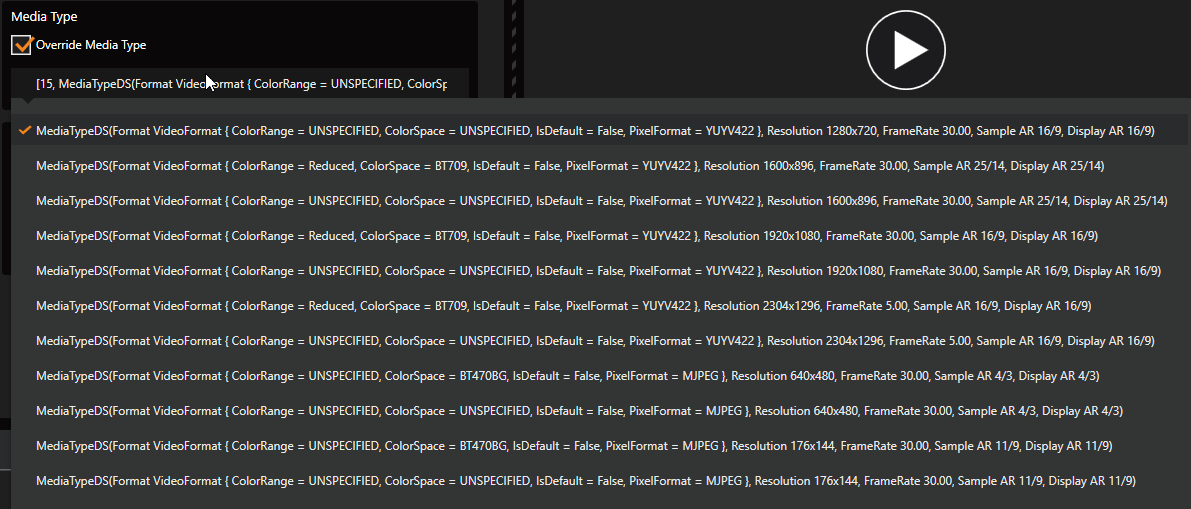
To override the automatically chosen media type you check the “Override Media Type” checkbox and select a format from the drop down list.
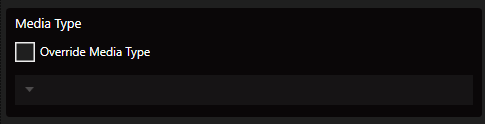
Note that the selection is often quite large and not easy to understand. Look for the frame rate and resolution values and select what you think is the best combination for you. If you’re having problems with dropped frames, lowering the resolution might be worth tryign.